Catch up on this project here:
Insulating the Attic – Part 1
Insulating the Attic – Part 2
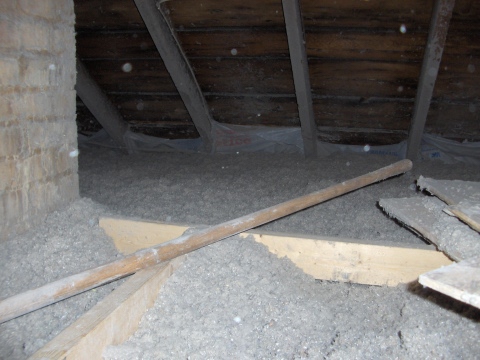
At the end of the last article, we left things ready to blow insulation. Well, almost ready at least. There were still a few things to be done.
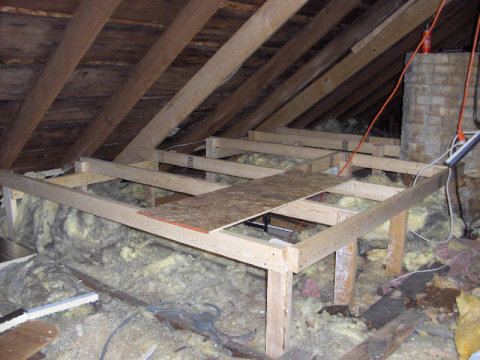
The first thing to be done was to build a platform to retain some storage. So, a simple frame was built. This will allow some storage around the the attic access. With the cellulose being blown in over the top, now was the time to do this if we wanted any storage in the attic.
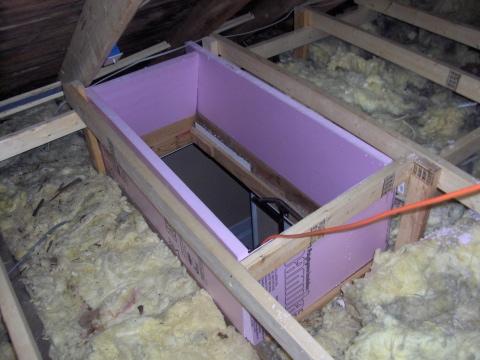
Next on the list was to make some sort of dam around the attic access to stop the cellulose from falling out. I decided to do this with rigid foam I had. It could easily be done with cardboard or wood too.
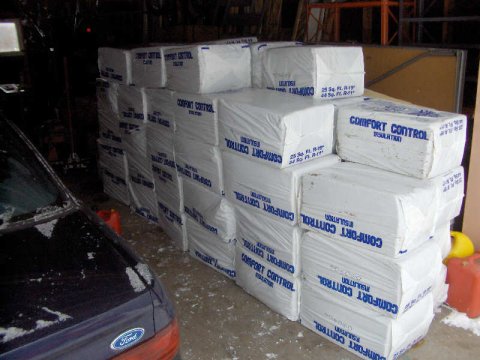
Alright, finally time to do something with this insulation thats been sitting in my garage for the past few months when I got it on sale. I ran back to the same home improvement store I got the insulation from one night after work. I picked up their cellulose blower which I got to use for free since I bought the insulation there.
The rest was pretty simple. I read the instructions that came with the blower. Set it all up and had my wife load the blower while I blew it in. The actual blowing part is incredibly easy and even a bit fun.
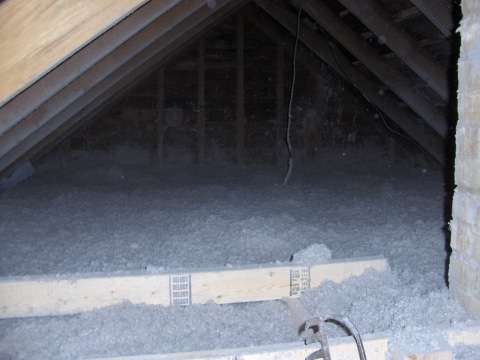
Now, we have a good 15 inches of insulation over the 6 inches of rockwool/fiberglass. Of course it will settle some time. But, this should increase the insulation in the attic to around R-60 which was the initial goal of this project.


Comments on this entry are closed.