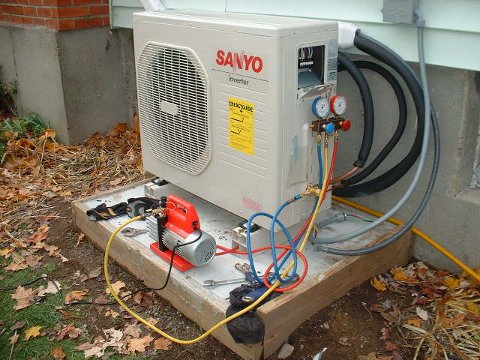
Now that both the indoor and outdoor unit had been installed, the heat pump was ready to be pressure tested. This ensures all the connections are good so that when the refrigerant is added it won’t leak out.

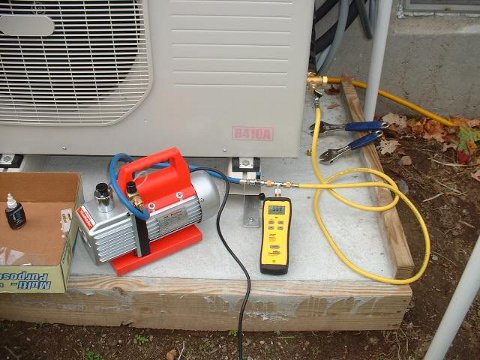
To test out his connections, Xringer decided to pressurise the system with nitrogen. So, first he hooked up the vacuum pump shown above and drew a good vacuum on the system to rid it of any moist air.

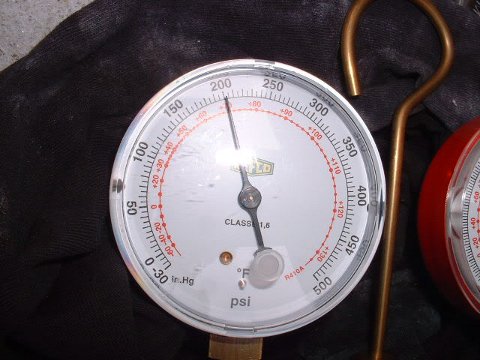
After there was a good vacuum pulled, he pressurized the system with the nitrogen to 200 psi. Using some liquid soap, he checked each connection to see if there was visible leakage. Then he left it over night. The next morning he came out to see it was still at 200 psi. He then tested it again at 400 psi doing the same thing and found everything was still good.

With the pressure testing all done, it was time to prepare the unit for the refrigerant. To do this, Xringer hooked up the vacuum pump once again and pulled a vacuum. This time, he hooked up a much more precise micron gauge for measuring vacuum. This is necessary to ensure that all the air and moisture is out of the system before putting refrigerant in.
After getting the system all vacuumed out and holding the vacuum at a steady pressure, Xringer had a HVAC professional come out to fill the system with R410a refrigerant. They followed the manual and put the refrigerant into the system. Once it was pressurized, they once again checked for leaks and found none.

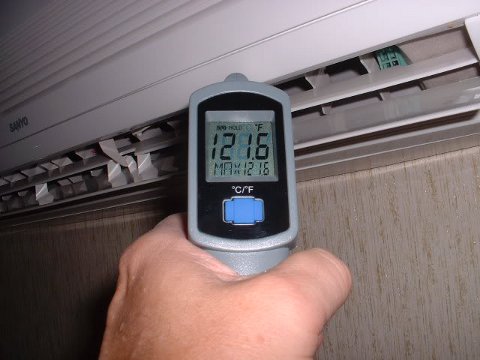
With pretty much everything done, the HVAC guy left and Xringer was able to power up the heat pump for the first time! At the time it was about 46 degrees out and as you can see, the indoor unit was throwing out 120 degree air into the house.


Comments on this entry are closed.