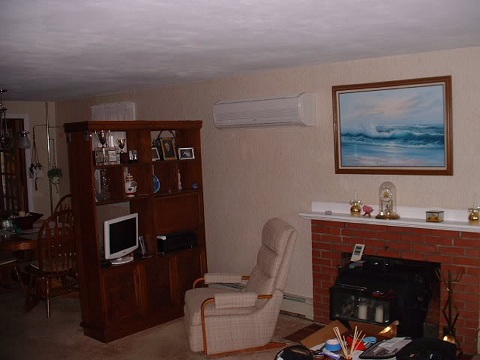
Its been a while, but we’re back on the air source heat pump install series. This time we’re going to look at installing the indoor unit part of the system. The indoor unit is the blower that blows out warm or cold air. Its important to position the indoor unit in a good spot that will heat and cool the entire room (or more if thats what you want to use it for). Xringer positioned the unit centrally where it would do the most heating/cooling since he was planning on using this as a primary source of heating and cooling.


Using a stud finder, he laid out where the indoor unit would be mounted. Then, he drilled the hole that is needed to run the refrigeration and drain lines to the outdoor unit. Once the hole is cut, there are some plastic pieces to insert into the hole to help tidy things up and keep water out of the wall.

The next step was installing the mounting plate on the wall. A couple of screws to put in plus a level, and that was done.

Next up was runing power to the unit. After the wiring was done he hung the unit on the wall.

Now it was time to move to the outside and install the ducting for the line set.

With the ducting in place, the line set could be connected to the indoor unit and run to the outside. Xringer did have some issues fitting the bulky foam and hoses through the wall, but it eventually cam through. Once through the wall, he bent them down over a wooden dowel (to avoid kinking) to follow the ducting.
Next time, we’ll go into installing the outdoor unit.
For more information, see Xringer’s forum thread.


Comments on this entry are closed.