
 |
|
|
#1 |
|
Apprentice EcoRenovator
Join Date: Aug 2012
Location: North Alabama
Posts: 167
Thanks: 0
Thanked 40 Times in 20 Posts
|
Last year's garden had a lot of problems, including an inadequate seedling grow light. Last year, my seedlings were really leggy and weren’t developing very well. I was forced to put them outside way too soon, and those conditions killed them quickly. Basically, I forgot to bring them in one too many nights (due to the cold) and forgot to water them one too many mornings. I wanted to remedy this and upgrade to LEDs, but still be cost effective. FYI, you can really learn a lot about indoor growing from watching the pot grower’s YouTube videos and reading some of their forums.
I ordered 13 – 10W LED full spectrum (400nm, 840nm) COBs from the old flea bay for $19.88. I ordered the 10W COBs because they had the lowest $/Watt at $0.11/Watt. 10w 20w 30w 50w 100w COB full spectrum led chip 400nm~840nm plant grow light #B | eBay I also ordered 12 – 10W DC to DC constant current LED drivers for $13.32. Practical 10W 12V- 24V DC LED Constant Current Driver Power 900mA High Power LED | eBay In addition, I ordered Chinese-ium grade “thermal adhesive” from AliExpress for $0.58, including shipping. For $0.58 you can’t go wrong in a cheap project like this! From Lowes, I got 3’x1.5”x1/8” Aluminum flat bar for $8.78 (ouch!) and aluminum 23 gauge 2’x6” sheet for $15.61 (double ouch!!). Fortunately, I am a dumpster diver, so I had an old desktop computer supply (actually 3) laying around that I wanted to base this whole project around (since those are usually the biggest cost). Also, I had scavenging parts from a free rear projection TV I found on Craig’sList, which included two very beefy heat sinks. For my LED grow light design, I wanted the aluminum bar to be the backbone and the main heat conduction path for the LEDs and heatsinks. I also wanted to be able to remove the reflector, if needed, and service the LEDs if they ever burned out. I cut the 3’ aluminum bar down to 18” (so I can make two lights if I want), drilled and tapped it, and laid out the LED COBs. 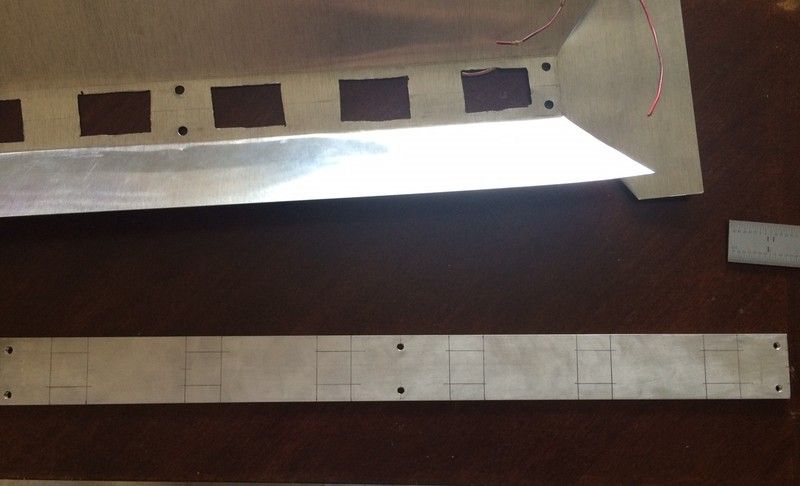 I had a bunch of old automotive wire laying around from when I scrapped out my “race car” and soldered wires to the LED COBs and adhered them to the aluminum bar. 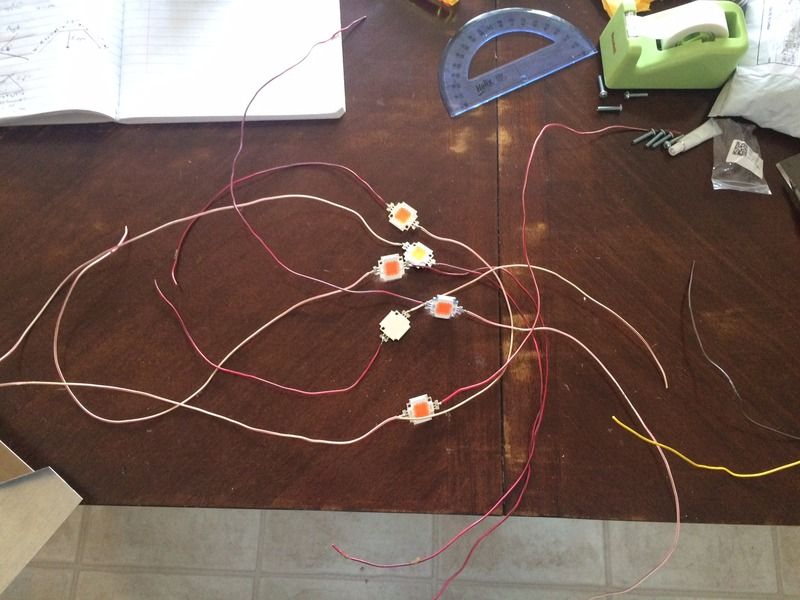 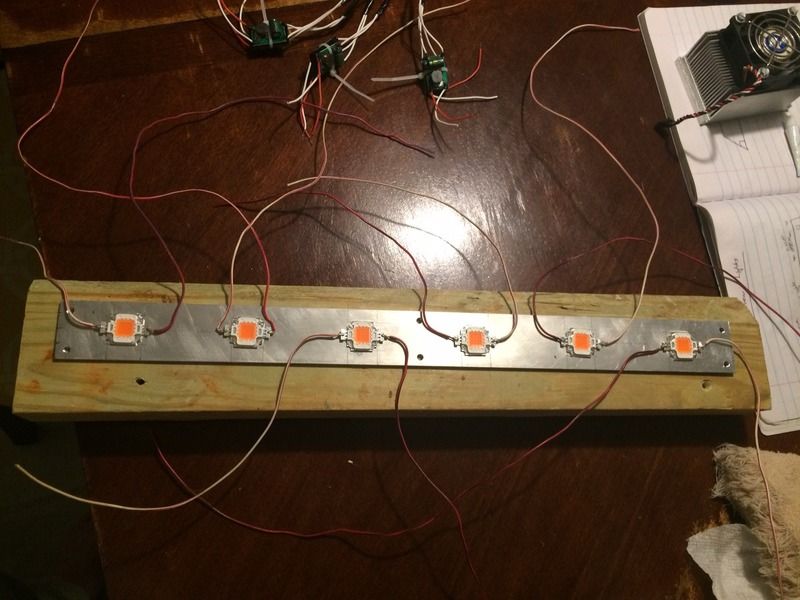 Just a note about the “thermal adhesive.” I tested some adhesive the night before on two small pieces of aluminum and it did not break loose very easily at all, and it took prying with pliers to break the bond. I would not recommend bonding a heavy heat sink with just the thermal adhesive, but something small and lightweight like an LED COB, it is perfect! I cut the aluminum reflector to be mounted on the bottom side of the aluminum bar and fit around the LED COBs. 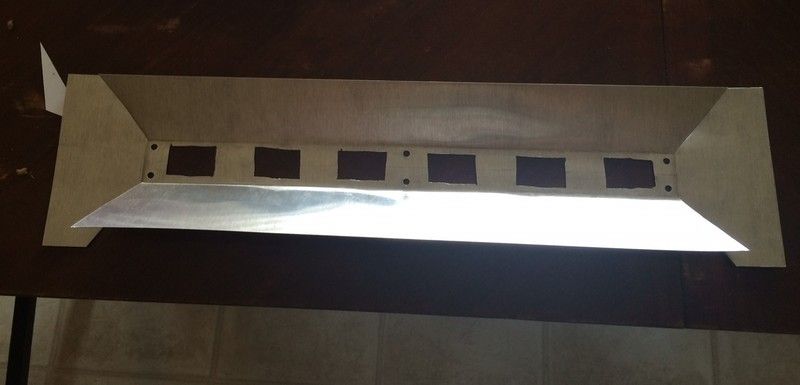 The LED drivers are quite small. I put electrical tape on the back of them all, zip-tied them back to back, creating three legs, and wired them up to the power supply. 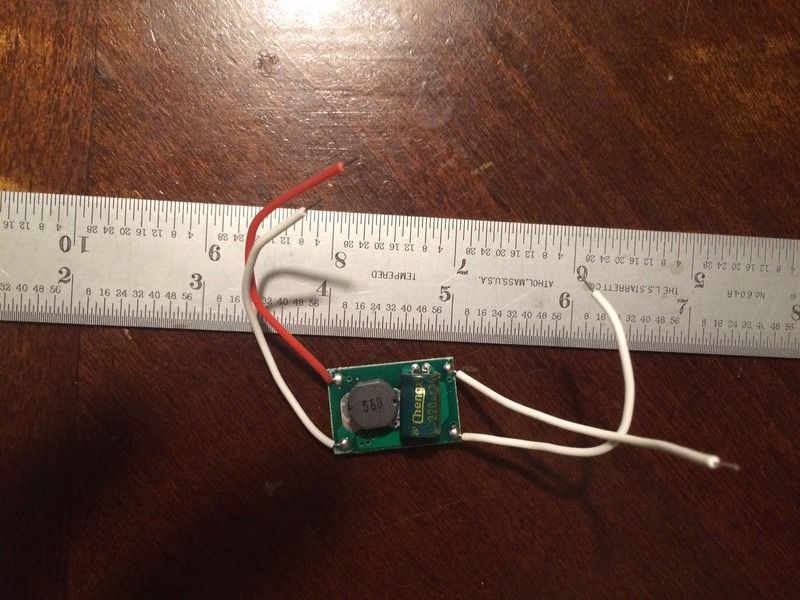 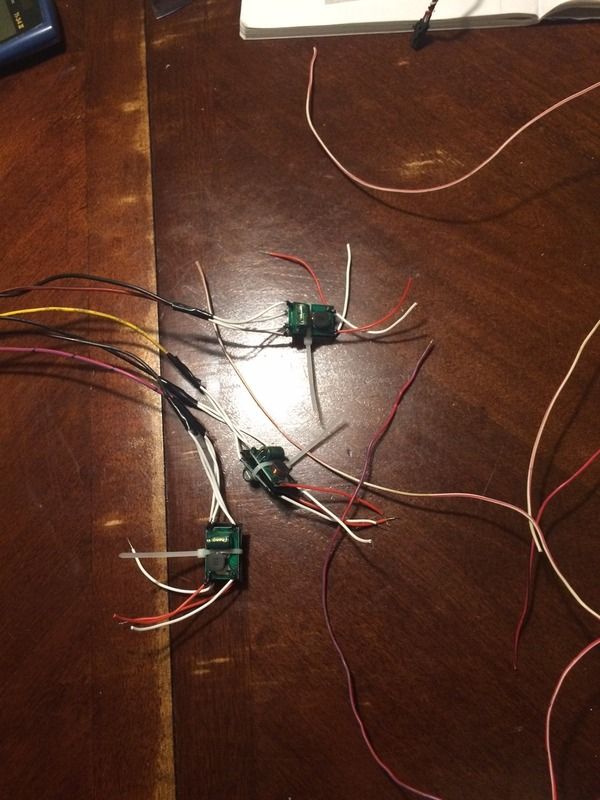 Everything wired up and ready for a test run. 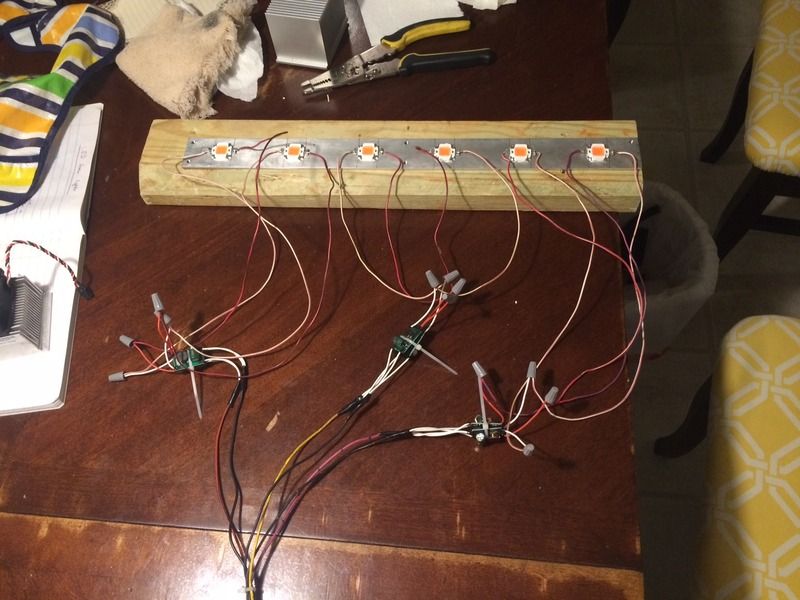 Blindingly bright! I was wearing cheap sunglasses and the color still messed with my eyes a bit. 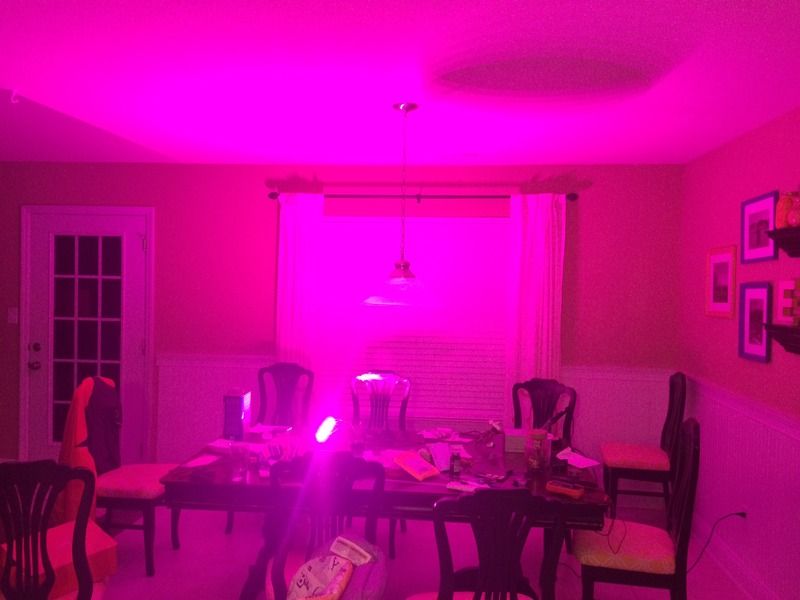 As a very poor comparison, here is what my old 2’ long 2 - T12 bulb florescent grow light setup looks like (only one was of the “grow” spectrum variety because they are so expensive): 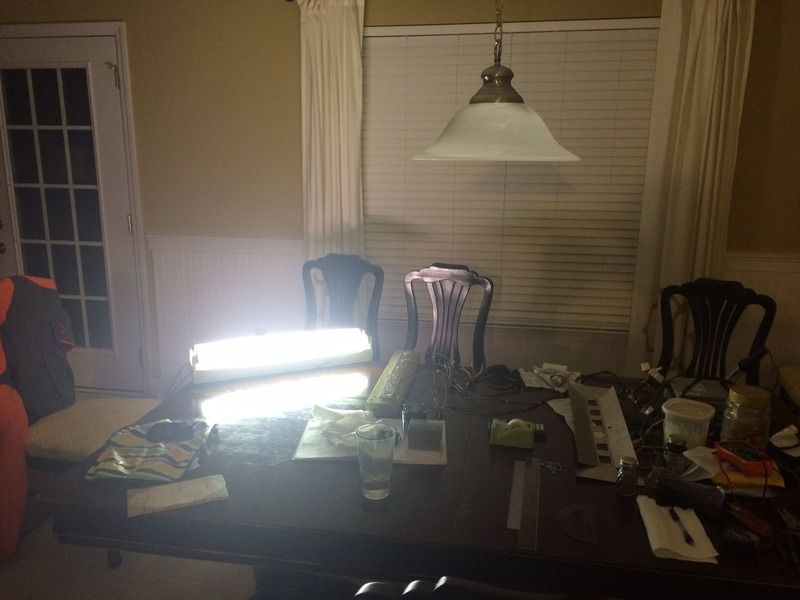 My old florescent setup would draw about 36W, while the new LED setup hovered around 75W. I still have to attach the heat sinks and reflector but I am quite satisfied with the results so far. Also, I am going to see if the heat sinks are adequate for passive cooling or if I need to attach some small CPU fans. So far, the total expenses for this project is $58.17, but priced out per unit it is actually $37.18. I believe I spent close to $30 for my 2’ florescent setup, including a single “grow” variety T12 bulb. When I build a second light setup, I will likely just use plated sheet steel for the reflector instead of aluminum. I originally wanted the reflector as part of the heat dissipation, but as I got into the build, I determined that was not going to be feasible. That should drop the unit cost well below $30. I will post up pictures of the finished product once it is complete. |
|
|

|
|
|
#2 |
|
Less usage=Cheaper bills
Join Date: Nov 2010
Location: Minneapolis, MN
Posts: 940
Thanks: 41
Thanked 117 Times in 91 Posts
|
A bunch of Youtube videos suggest that CFLs just close enough to the plants to be as bright and direct as possible but not close enough to cause heat damage seem to be the most cost effective option and they usually have the broad spectrum needed. I've heard some LEDs lack the proper spectrum and some come at a very high cost.
|
|
|

|
|
|
#3 | |
|
Apprentice EcoRenovator
Join Date: Aug 2012
Location: North Alabama
Posts: 167
Thanks: 0
Thanked 40 Times in 20 Posts
|
Quote:
Now lets talk about premature failure. What happens when the transformer in a CFL goes out early, are you going to fix it? I can have up to 3 of my LED COBs or their power drivers go out and still come out ahead on cost to replace. Also, what happens if you accidentally drop your CFL? You are immediately out $11, plus any cleanup. That happened to me last year and replacing a T12 bulb isn't an expense I want to have very often. I am no pot grower, but I know those people know what they are doing far more than a typical "grow a few veggies indoors home gamer". They have some pretty impressive setups (as you can see on YouTube by searching for "LED grow lights"), and most of them are HPS or LED. They are ditching their HPS for LED because, according to them, they are far superior and can be tuned to the properly wavelengths for optimal growth. Here is one of the first pot videos (there are TONS BTW) I clicked on: |
|
|
|

|
|
|
#4 |
|
Supreme EcoRenovator
|
This niche "LED grow light" market got supercharged a few years ago when Cree released the CXA line of Xlamp chip LED modules, then the CXB line. These modules pack a massive amount of light output into a very small package, rivaling HID light intensity and efficiency. As with many name brand products, they do the job well and ain't cheap. Other manufacturers are offering lots of "knockoff" products that attempt to rival the Cree modules at a discount. Cree has not sit idle, and has cross-licensed and invested in some of these rival companies to expand the industry as a whole. The Epistar/Epileds modules used in this build are a direct product of this strategic alliance. So much for the "Cheap Chinese junk" argument.
For growing seedlings, the light intensity should fall into a range mainly dictated by the plant being started. Spectrum is not as important in early stages of growth. The "purple/magenta" spectrum work 99% as good as the 3500K to 5000K "white" spectrum. Keeping the intensity where it needs to be for the seedling is WAAAY more important: not enough and you have spindly twigs, too much and you get bleached or scorched leaves. With these 10W chips, I imagine you could bleach and scorch seedlings pretty easily if you weren't careful. I rigged up a single "warm white" 10W chip like this in my truck awhile ago to replace the burnt out dome light, and was amazed at just how much intensity actually comes out of it. I also figured out that the little regulator boards are dimmable. For a seedling shelf, it would be awesome to make a static mount for the lights and just dim or brighten them at will. Eliminating a chain or cable rig to raise and lower the lamp assemblies would take a whole lot of hassle out of the process. |
|
|

|
|
|
#5 | ||
|
Apprentice EcoRenovator
Join Date: Aug 2012
Location: North Alabama
Posts: 167
Thanks: 0
Thanked 40 Times in 20 Posts
|
[QUOTE=jeff5may;53601]The Epistar/Epileds modules used in this build are a direct product of this strategic alliance. So much for the "Cheap Chinese junk" argument.
Good to know! I was vaguely familiar with some of these goings-on but thanks for all of the detail. It is reassuring that my few $ aren't truly going to waste. Quote:
Quote:
|
||
|
|

|
|
|
#6 |
|
Supreme EcoRenovator
|
The regulator boards you have look just the same as what I put in the truck. The typical circuits look like this:
 The chip comes in 2 different packages:  To control the brightness, the DIM pin is used. For a single board, a resistance can be connected to pull the pin low. The chip has an internal 5VDC supply that runs the current sensing circuitry and the switching output. The DIM pin is tied to this 5V reference through a 200k ohm resistor. A 250K potentiometer can be connected between the DIM pin and ground to control the brightness. To control multiple boards, you can feed them a common PWM signal to make them all behave the same. It would be easy to construct using a 555 timer ic and a few parts. I'm sure if you looked around on the web, another dirt cheap board could be found that could be wired straight to the DIM pin to supply a PWM signal. Last edited by jeff5may; 02-23-17 at 10:38 PM.. Reason: more info |
|
|

|
|
|
#7 | |
|
Apprentice EcoRenovator
Join Date: Aug 2012
Location: North Alabama
Posts: 167
Thanks: 0
Thanked 40 Times in 20 Posts
|
Quote:
As for updates, here is the finished product: 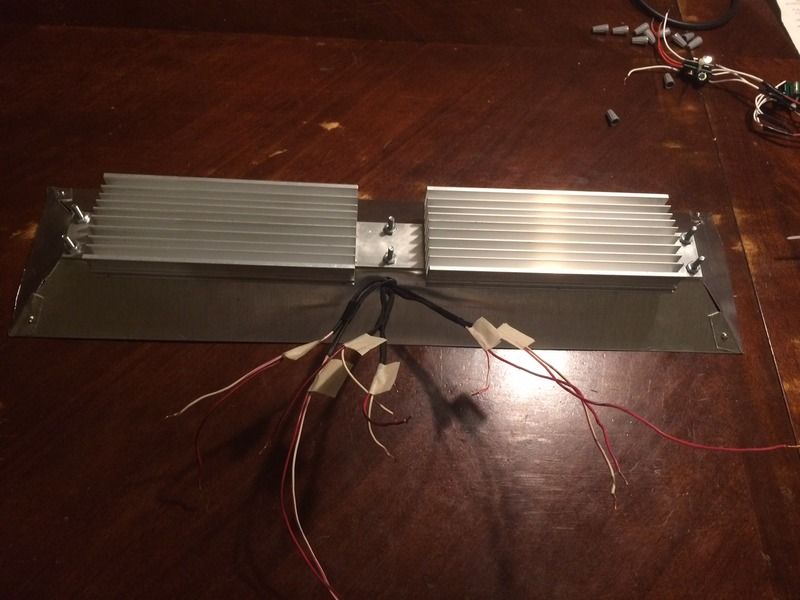 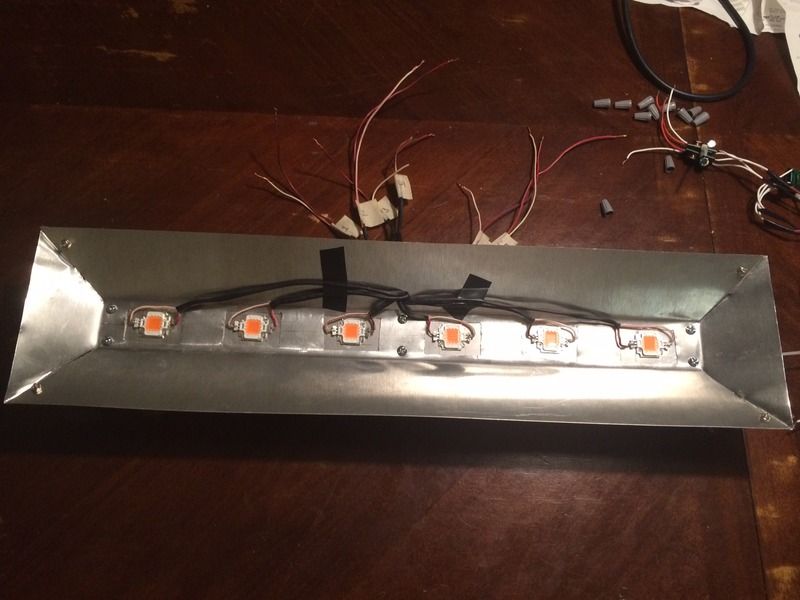 I am pretty satisfied with the end product. Will it be overkill for growing seedlings, yes, absolutely! Will it be overkill for some DWC hydroponic lettuce growing experiments, probably not too much....but that is what experimentation is for. |
|
|
|

|
|
|
#8 |
|
DIY Geek
Join Date: Apr 2013
Location: Sunny Florida
Posts: 401
Thanks: 74
Thanked 83 Times in 73 Posts
|
Nice how-to, and Quite a bit less expensive than a typical AeroGarden. On an AeroGarden, you raise the lamp as the seedlings grow in order to maintain light intensity relative to the seedlings leaf canopy.
|
|
|

|
|
|
#9 | |||
|
Apprentice EcoRenovator
Join Date: Aug 2012
Location: North Alabama
Posts: 167
Thanks: 0
Thanked 40 Times in 20 Posts
|
Quote:
Quote:
Quote:
|
|||
|
|

|
|
|
#10 |
|
Apprentice EcoRenovator
Join Date: Aug 2012
Location: North Alabama
Posts: 167
Thanks: 0
Thanked 40 Times in 20 Posts
|
Here is my initial setup. Only 1 LED COB hooked up to power and approx. 10" above the top of the seedling pots.
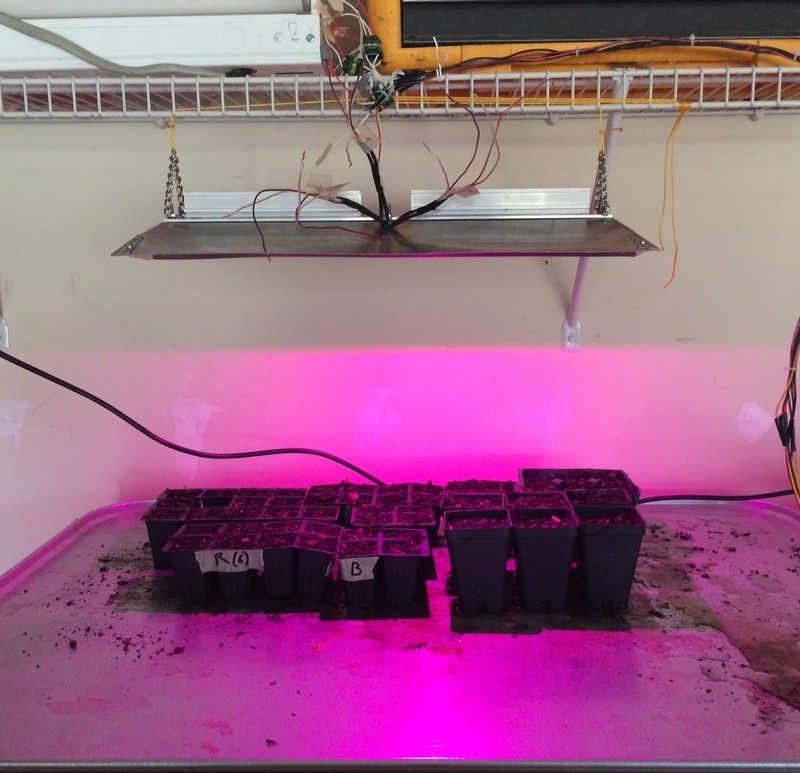 I was fortunate enough to plant some lettuce seeds for some other experimenting with the grow light, with no plans to plant them in the garden. In essence they were throw away seedlings, which ended up being a really good thing. The lettuce emerged a good 6 days before anything else and really indicated how much luminosity seedlings really need. Early on, I noticed the lettuce was getting leggy and powered a second, then a third LED COB on each consecutive day. You can see how leggy the lettuce was getting even with 3 10W LED COBs. 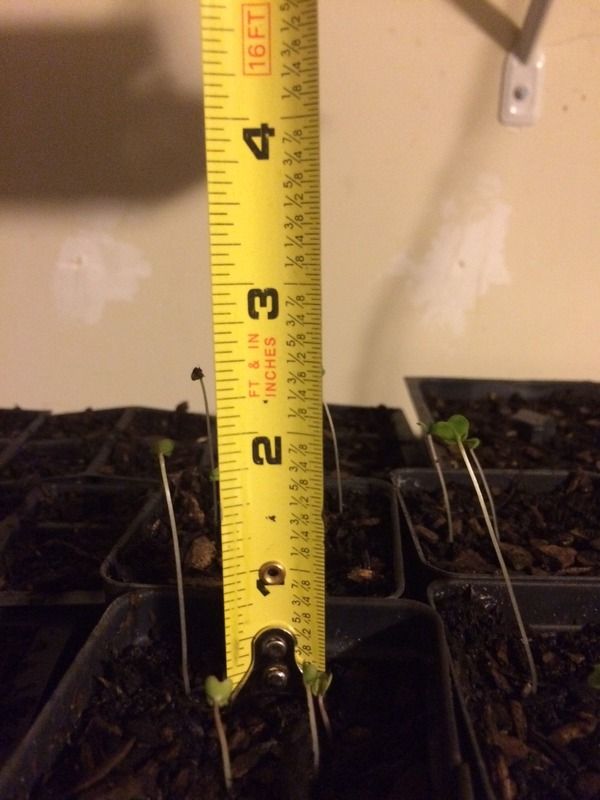 At this point, I had all 3 LED COBs powered on the right side of the grow light. The heat sink above those three LED COBs was quite warm to the touch and the left heat sink was warm as well. At this point, I knew my other seedlings would be emerging very soon, so I sped up the changes and temporarily installed a CPU fan, powered a fourth LED COB, lowered the grow light to approx. 6" above the top of the pots, and put aluminum foil around the entire light. 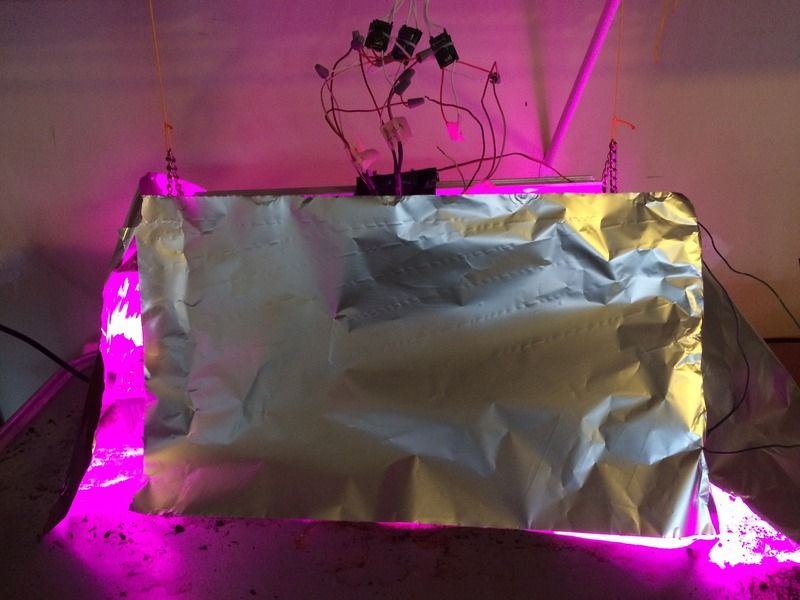  It seemed to be helping but I went ahead and connected a fifth LED COB. Here is the growth last night. 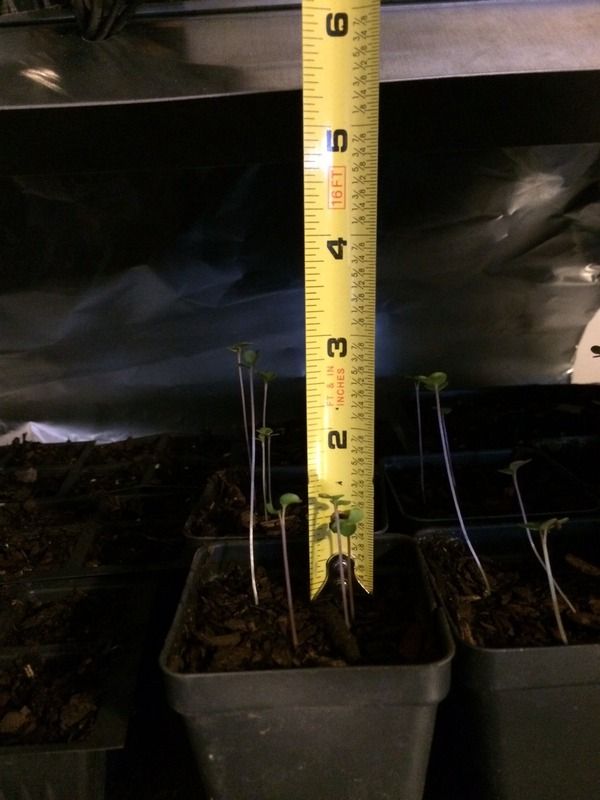 You can see on the foreground seedling stems are darkening, which is a good sign. Here you can see my other seedlings are starting to emerge. 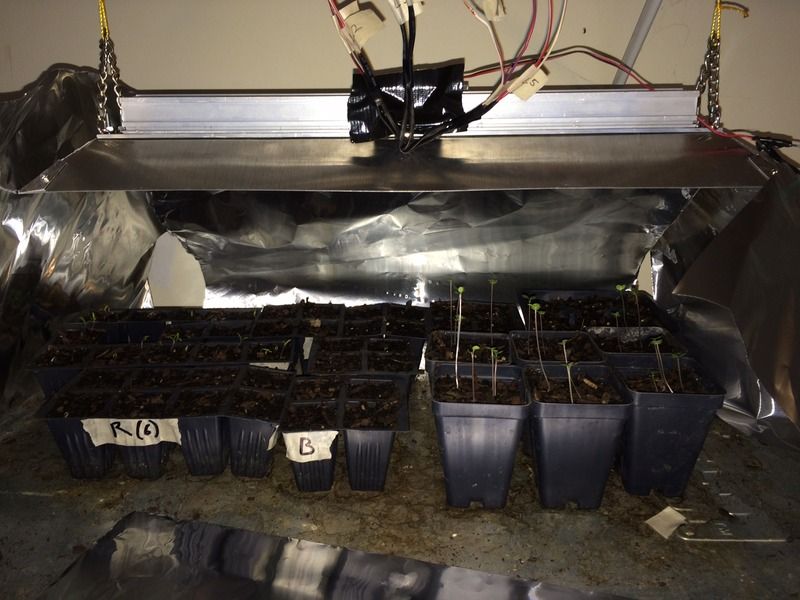 I powered the sixth and final LED COB this morning, so the grow light is running full tilt now. I am hopeful that this will be sufficient and am really glad I went with my initial gut feeling of increasing the LED COBs from 4 to 6 on this setup. Also, I obviously had the wrong conclusion that this would be "Overkill," and have been proven otherwise. |
|
|

|
 |
|
|