
|
 02-08-15, 10:37 AM
|
#31 |
|
Helper EcoRenovator
Join Date: May 2012
Location: Juneau, Alaska
Posts: 32
Thanks: 3
Thanked 10 Times in 9 Posts
|
I finally installed some insulation this weekend. We cut a few panels and I got them foamed in. I also got some of the rim joist insulation in place. It's pretty tough to maneuver the foam gun to the back but there's not much that can be done about that...
Here's some pics: Before: 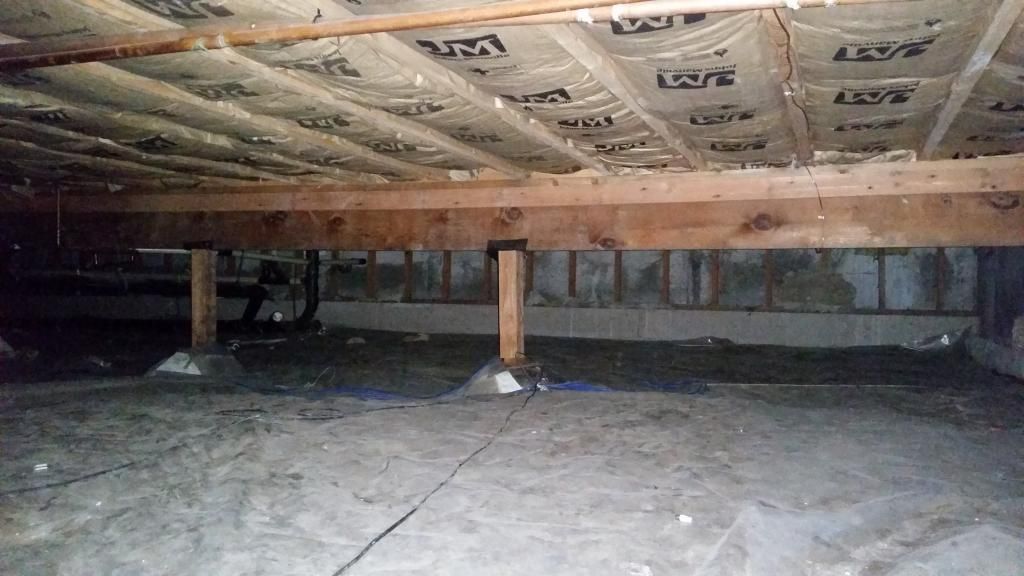 After: 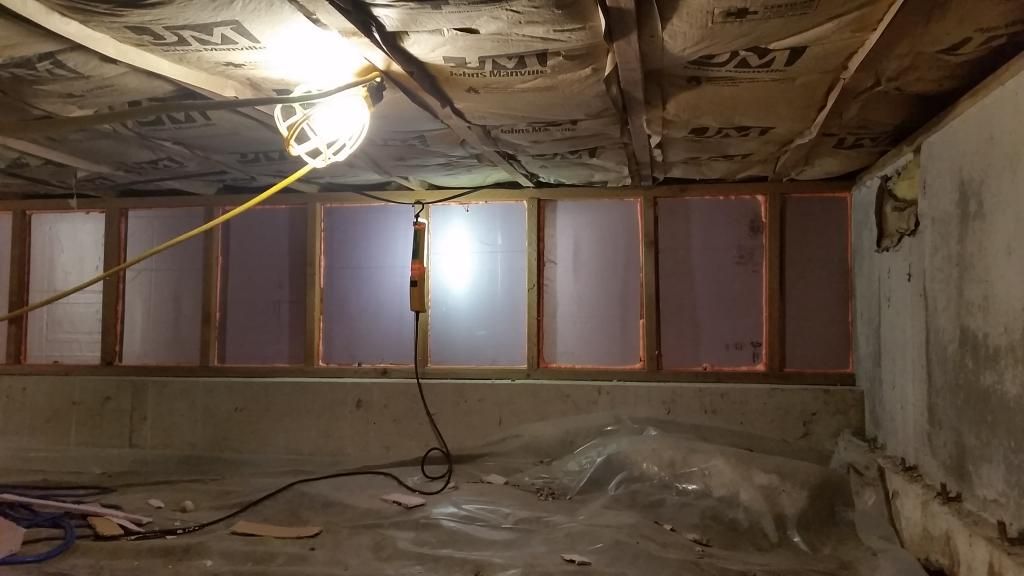  Erich Last edited by Erich_870; 02-09-15 at 07:10 PM.. |

|

|
| The Following User Says Thank You to Erich_870 For This Useful Post: | where2 (02-08-15) |
|
02-17-15, 12:32 PM
|
#32 |
|
Helper EcoRenovator
Join Date: May 2012
Location: Juneau, Alaska
Posts: 32
Thanks: 3
Thanked 10 Times in 9 Posts
|
We had a productive 3 day weekend. We got both new doors in. A new front and new back door with proper threshold membranes and air sealing foam.
Interestingly, the back door had no insulation around the door jamb while the front door had fiberglass batt insulation stuffed in the cracks. Can you guess which one had evidence of moisture issues? Yup, the batt insulation. The water vapor would condense at the due point within the batt insulation and mold started to grow from that point out toward the outside of the house. There was not structural damage, but it was evident. Life lesson; either insulate and seal it with foam, or don't insulate it at all. Here's some pics. New front door 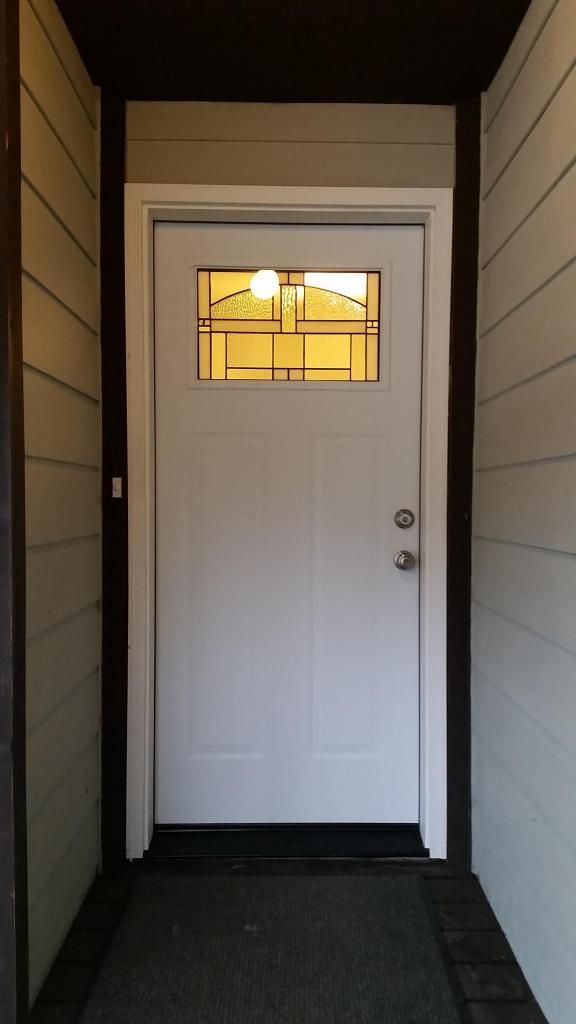 New back door 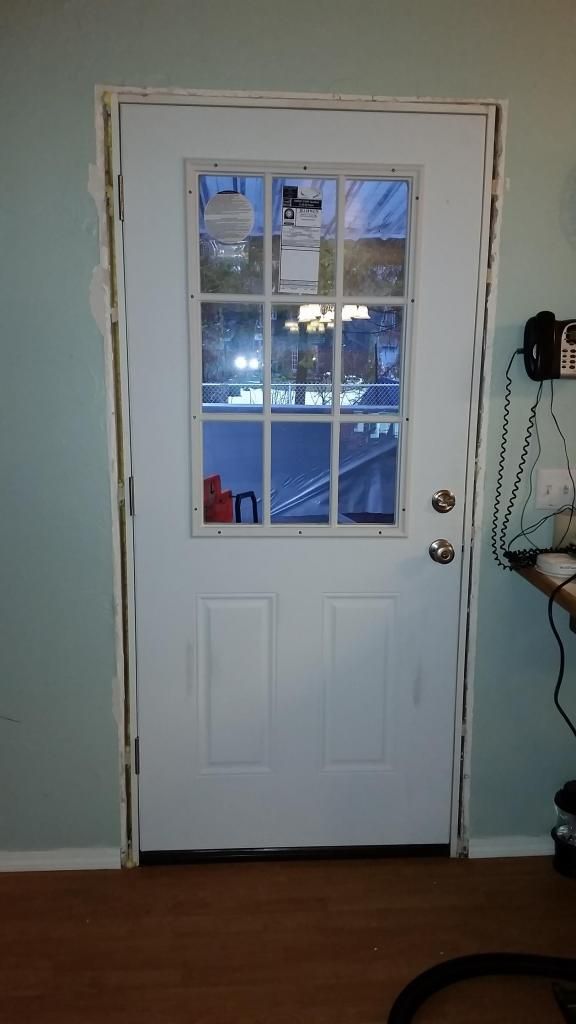 Erich Last edited by Erich_870; 02-17-15 at 03:28 PM.. |
|
|
|
| The Following User Says Thank You to Erich_870 For This Useful Post: | buffalobillpatrick  (02-17-15) (02-17-15) |
|
03-19-15, 12:11 PM
|
#33 |
|
Administrator

Join Date: Aug 2008
Location: Germantown, WI
Posts: 5,525
Thanks: 1,162
Thanked 374 Times in 305 Posts
|
Its looking great Erich. Any recent updates?
__________________
Current project - To view links or images in signatures your post count must be 0 or greater. You currently have 0 posts. To view links or images in signatures your post count must be 0 or greater. You currently have 0 posts. & To view links or images in signatures your post count must be 0 or greater. You currently have 0 posts. |
|
|
|
|
03-19-15, 12:27 PM
|
#34 | |
|
Helper EcoRenovator
Join Date: May 2012
Location: Juneau, Alaska
Posts: 32
Thanks: 3
Thanked 10 Times in 9 Posts
|
Quote:
Insulating the rim joist bays is a total pain because my contractor foam gun just barely fits, lol. Erich |
|
|
|
|
|
03-19-15, 11:52 PM
|
#35 | |
|
Less usage=Cheaper bills

Join Date: Nov 2010
Location: Minneapolis, MN
Posts: 939
Thanks: 41
Thanked 116 Times in 90 Posts
|
Quote:
Hope this helps. |
|
|
|
|
| The Following User Says Thank You to MN Renovator For This Useful Post: | Erich_870 (03-22-15) |
|
03-22-15, 03:18 PM
|
#36 | |
|
Helper EcoRenovator
Join Date: May 2012
Location: Juneau, Alaska
Posts: 32
Thanks: 3
Thanked 10 Times in 9 Posts
|
Quote:
Thanks! Erich |
|
|
|
|
|
03-22-15, 03:33 PM
|
#37 |
|
Helper EcoRenovator
Join Date: May 2012
Location: Juneau, Alaska
Posts: 32
Thanks: 3
Thanked 10 Times in 9 Posts
|
I installed some more insulation this weekend. I started hanging larger sheets of foam on the smooth footing walls. I'm using some concrete inserts and then a 5" wood screw. Seems to work really well. I only need 2 per panel. One at the top into the mud sill and one in the concrete.
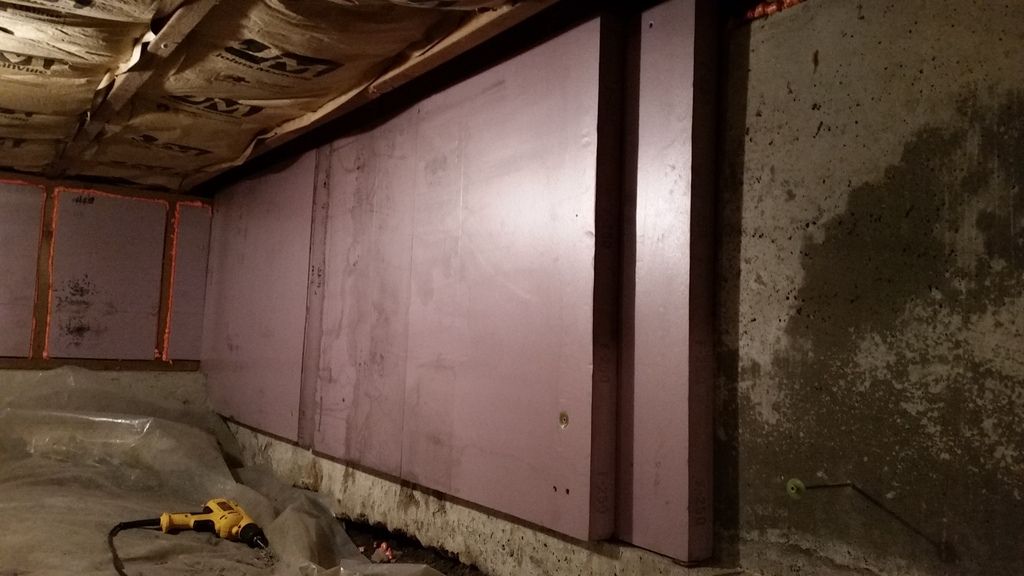 Here's the set up. 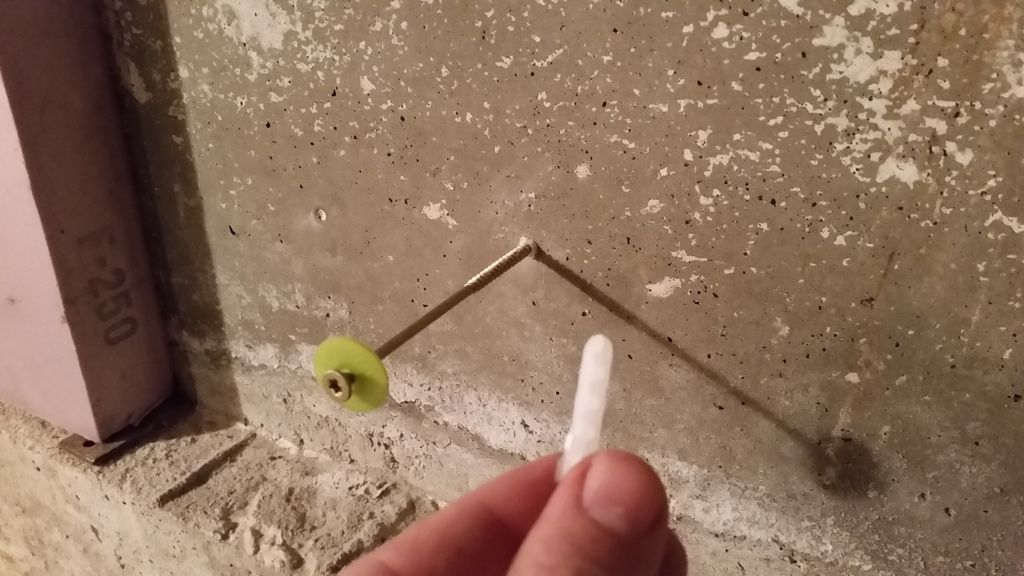 I finished all the foam on the north side of the house. (Except for the boards that will go down the spread footer and under the vapor barrier when I replace it.) 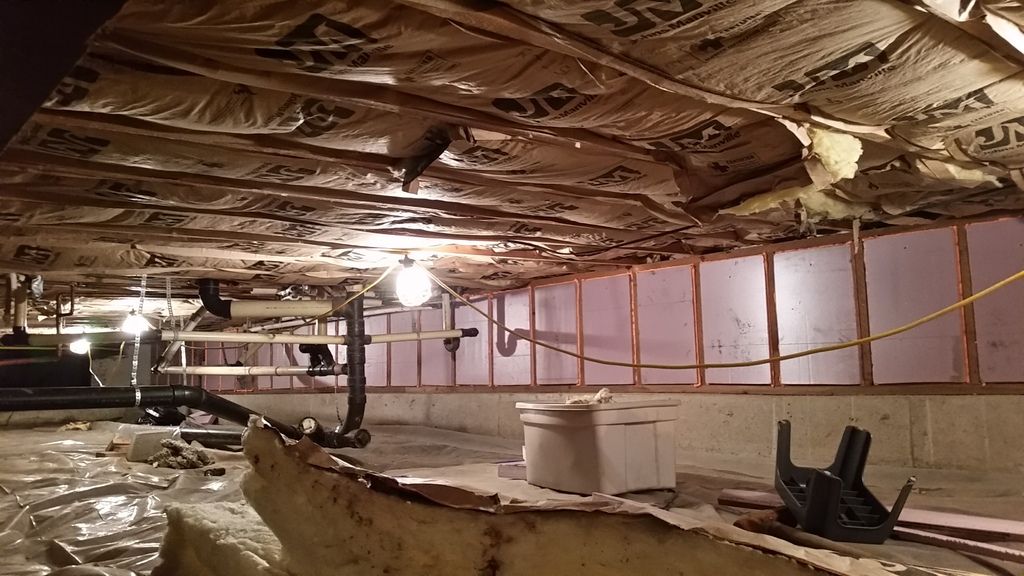 Erich |
|
|
|
|
04-29-15, 12:32 PM
|
#38 |
|
Administrator
Join Date: Aug 2008
Location: Germantown, WI
Posts: 5,525
Thanks: 1,162
Thanked 374 Times in 305 Posts
|
Wow, I missed this. Great progress. Can you tell any difference just working down there?
__________________
Current project - To view links or images in signatures your post count must be 0 or greater. You currently have 0 posts. To view links or images in signatures your post count must be 0 or greater. You currently have 0 posts. & To view links or images in signatures your post count must be 0 or greater. You currently have 0 posts. |
|
|
|
|
04-29-15, 01:29 PM
|
#39 | |
|
Helper EcoRenovator
Join Date: May 2012
Location: Juneau, Alaska
Posts: 32
Thanks: 3
Thanked 10 Times in 9 Posts
|
Quote:
Erich |
|
|
|
|
| The Following User Says Thank You to Erich_870 For This Useful Post: | Daox  (04-29-15) (04-29-15) |
|
04-29-15, 03:02 PM
|
#40 |
|
Helper EcoRenovator
Join Date: May 2012
Location: Juneau, Alaska
Posts: 32
Thanks: 3
Thanked 10 Times in 9 Posts
|
I've been working every weekend on this project and haven't stopped to take too many photos, but here are a few.
These are for the attic insulation work I did over a bedroom and the garage. First I had to vacuum out the ~6" of cellulose insulation. 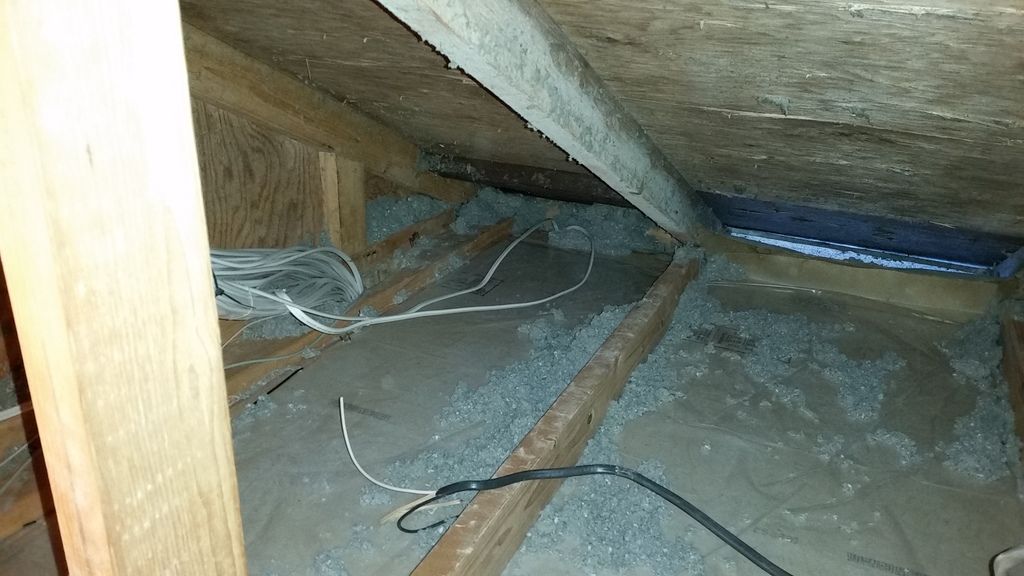 Then I taped the vapor barrier and sealed all the penetrations. I also installed new baffles and used scrap foam to cover the top of the walls where the new blown in insulation would be thin. 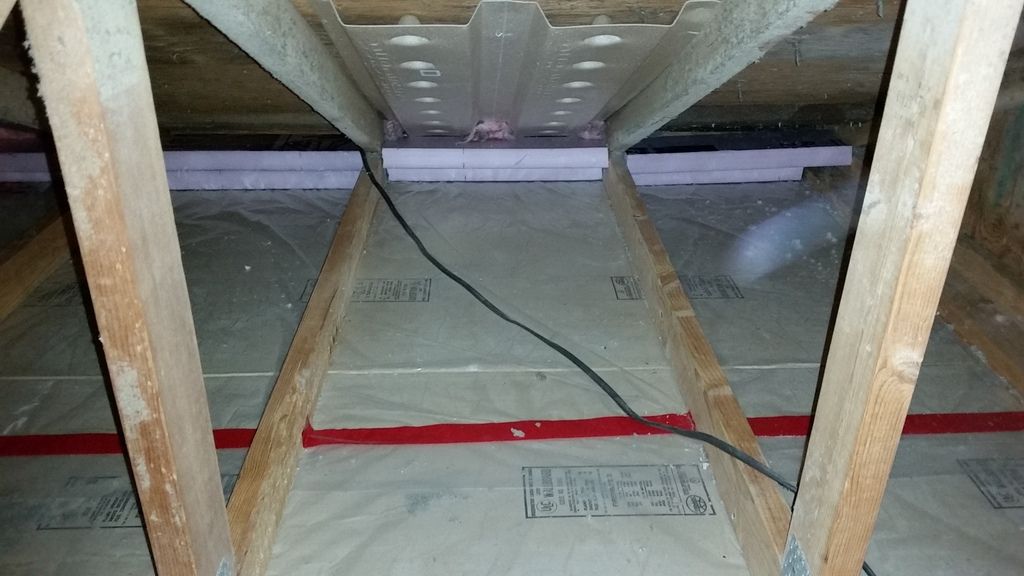 I need to get some finished pics. Erich I installed some 2x4's to make a crawl platform and help me know how much insulation to blow in. 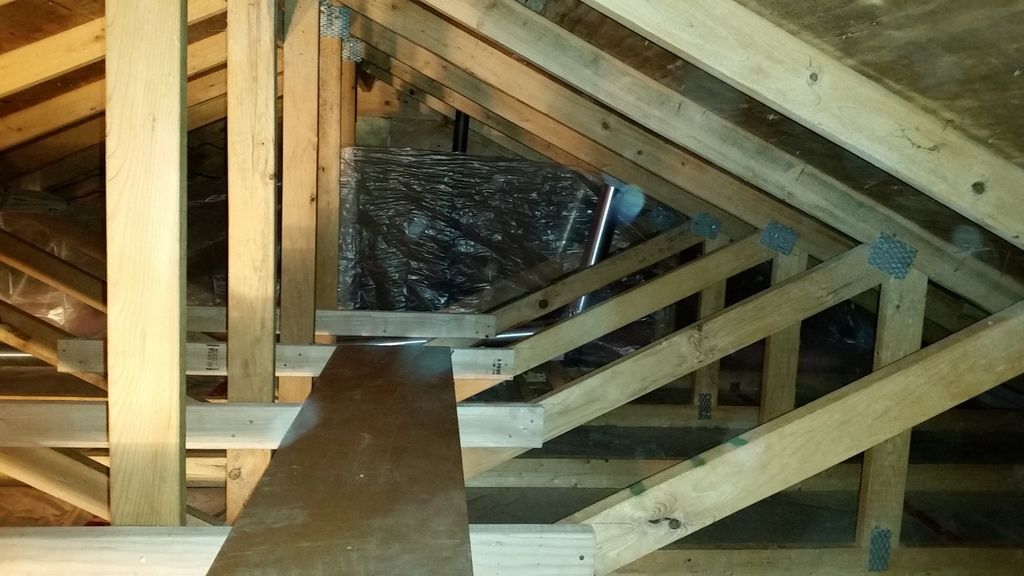 Next I turned my attention to the garage attic. For some reason they used batt insulation so I just added to it. But first I wanted to address the lighting in the garage so I had some inexpensive T-8 lights on hand and installed them. 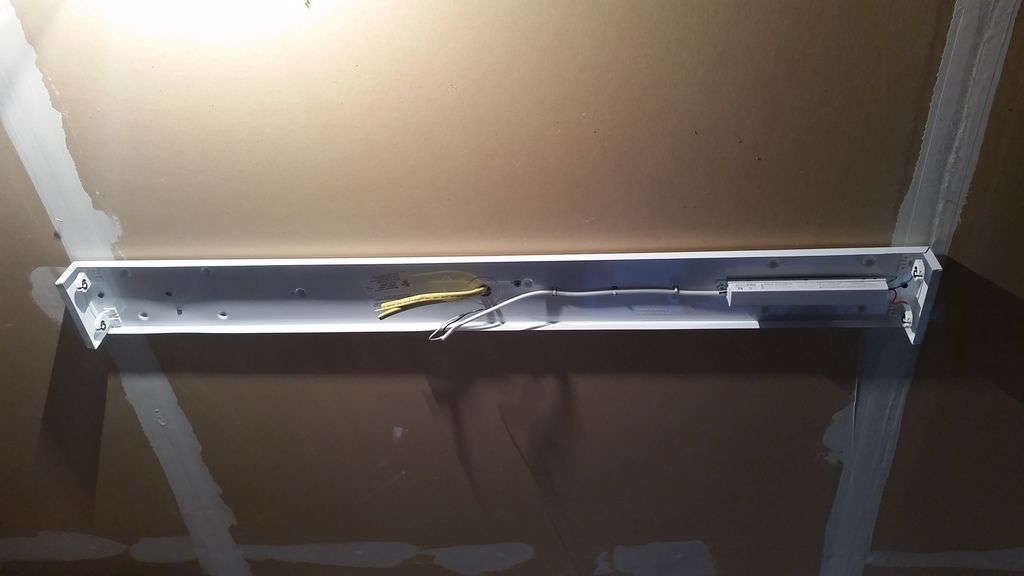 Here you can see the new and existing wiring along with the air sealing. 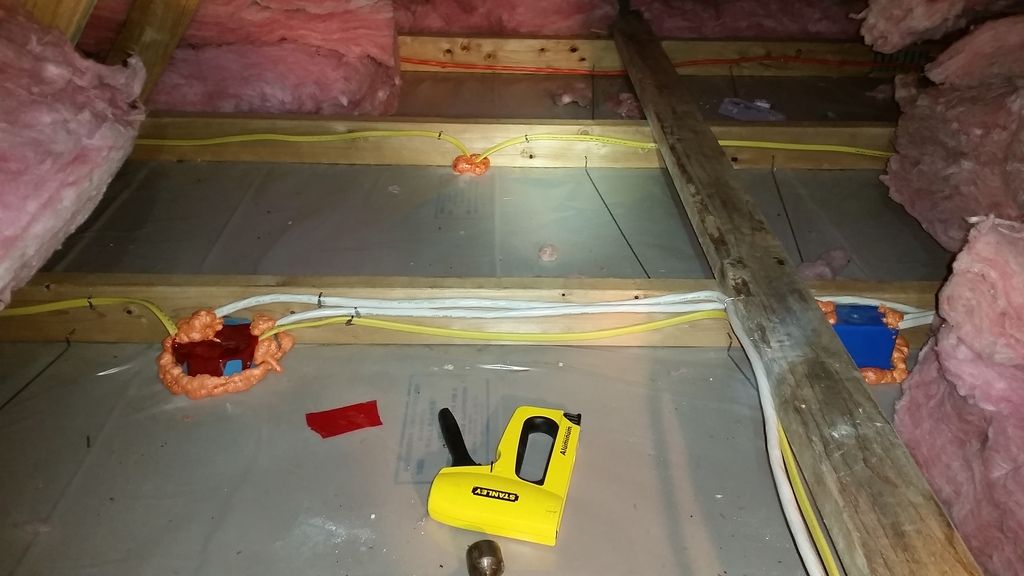 I also ran some new power cables for a 240 volt heater and a future welder. Neither are connected in the breaker box at this point. 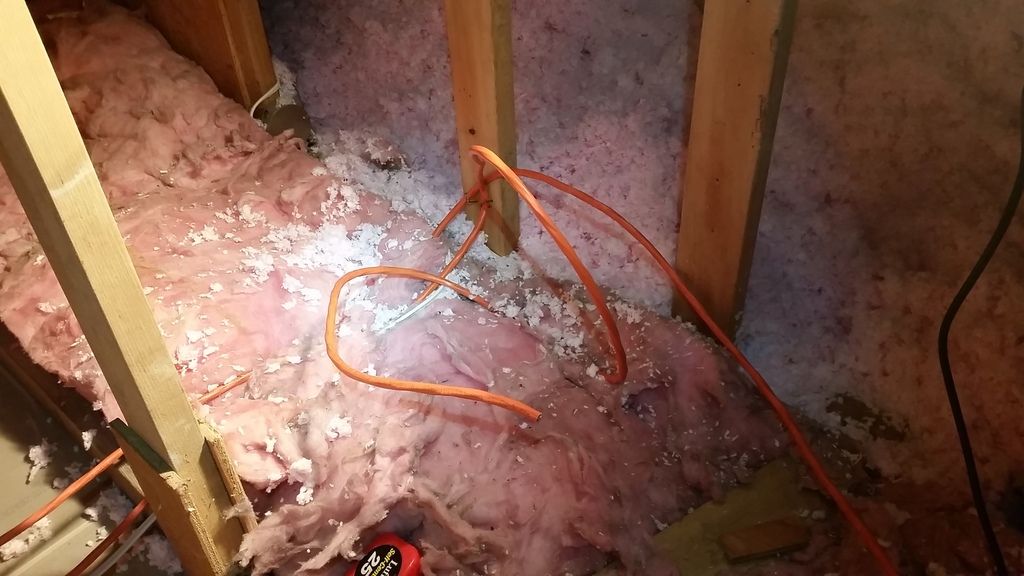 Here's a view with the original insulation reinstalled. I have since added another R-30. 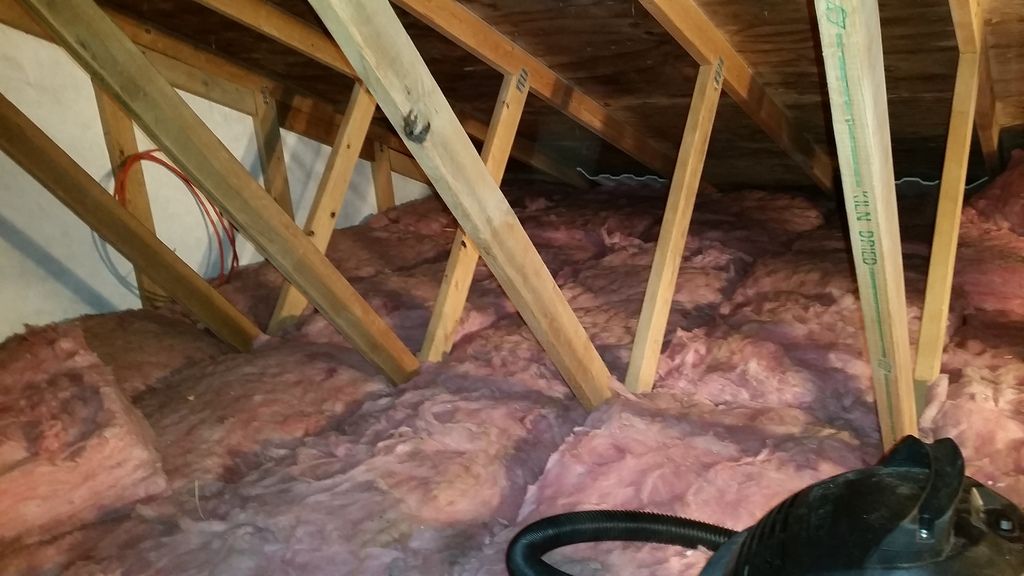 Here's the original garage light. It was a scary 200watt light bulb that was getting so hot it was discoloring the drywall around the porcelain fixture. 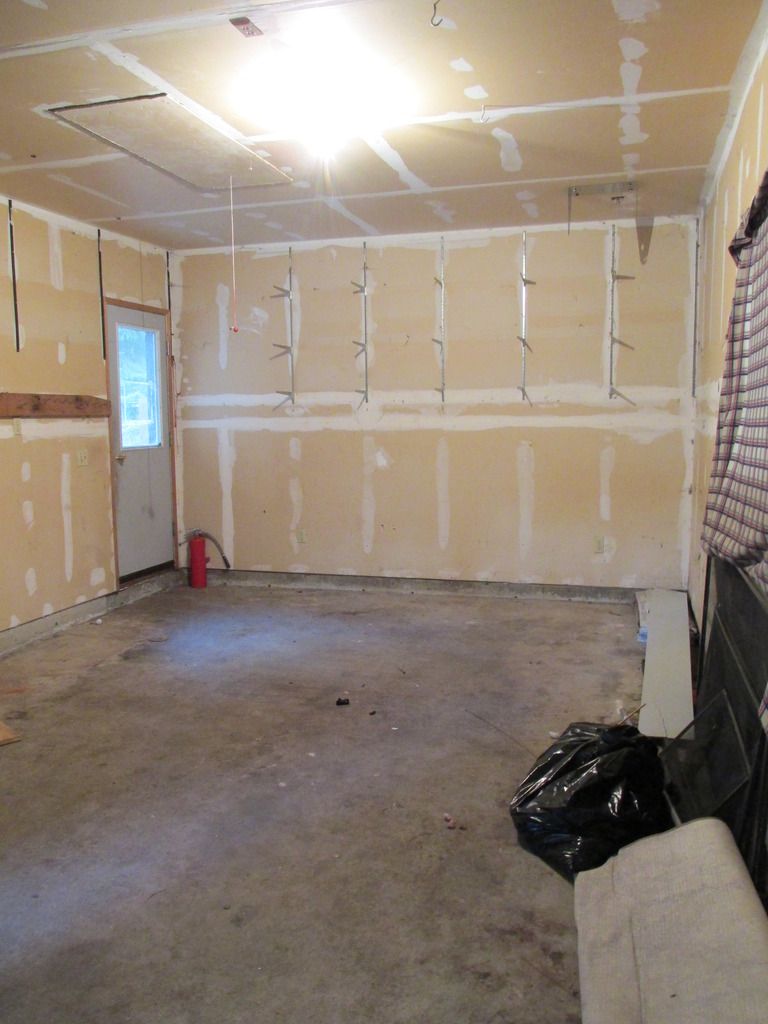 Here's the new garage lighting. 6 double T-8 fixtures. 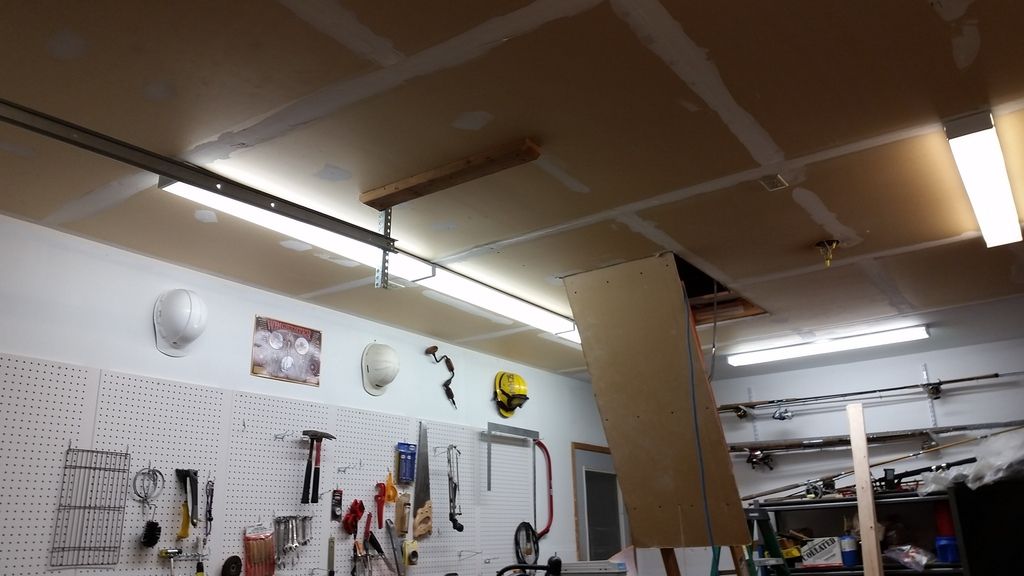 Erich |
|
|
|
| The Following User Says Thank You to Erich_870 For This Useful Post: | Daox (04-29-15) |
 |
|
|


 Linear Mode

