
|
|
Advanced Search | |||||||
 |
|
|
Thread Tools | Display Modes |
 02-15-14, 04:15 PM
|
#191 |
|
Supreme EcoRenovator
Join Date: Jan 2010
Location: elizabethtown, ky, USA
Posts: 2,428
Thanks: 431
Thanked 619 Times in 517 Posts
 |
How about Dynamat?
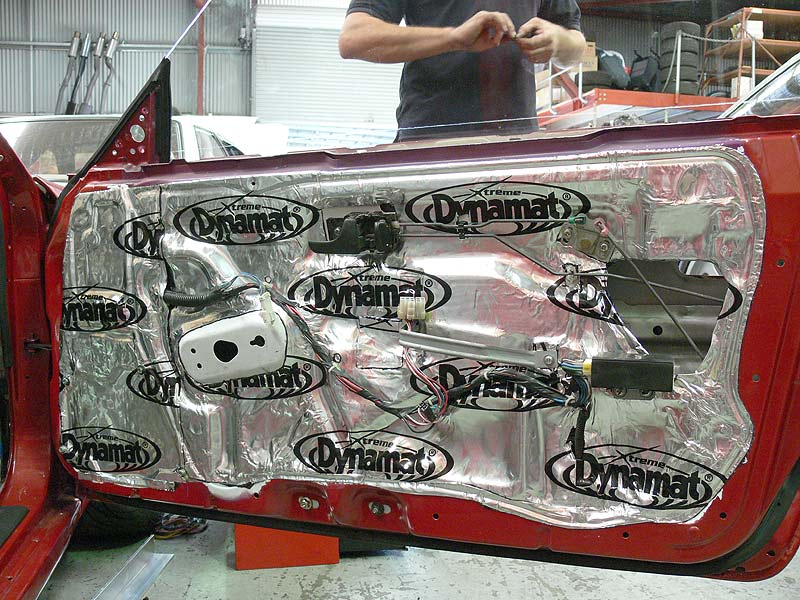 Or a cheaper alternative, Peel n seal   Both are super thin, self-sticking, and aluminum-skinned. For the ultimate in thinness and cost, you could go with aluminum foil tape 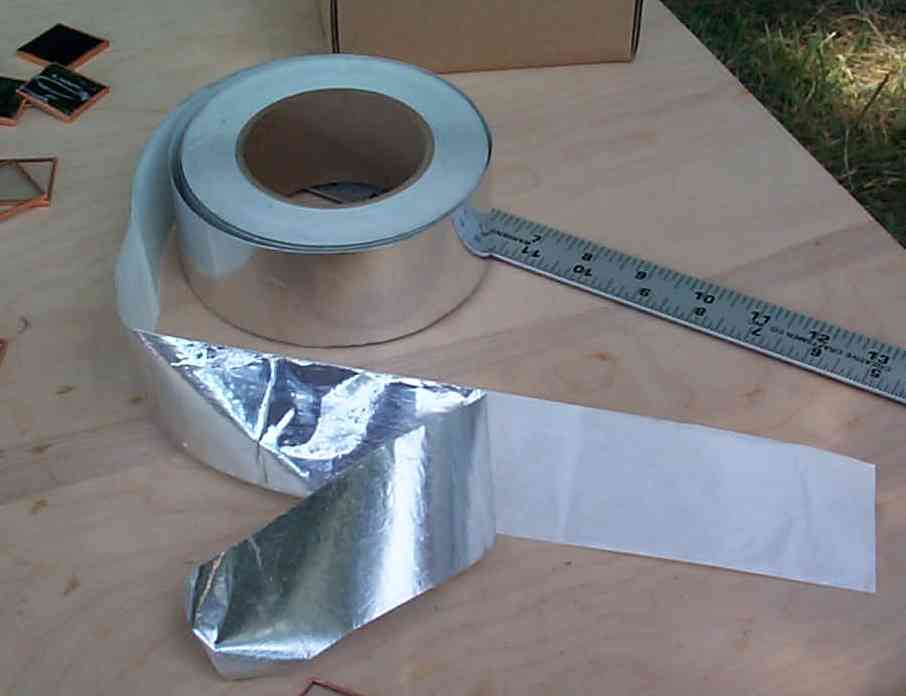 (Just make sure and get heat-rated tape so it won't let go upon startup) Last edited by jeff5may; 02-15-14 at 04:38 PM.. |

|

|
|
02-17-14, 08:40 AM
|
#192 |
|
Administrator

Join Date: Aug 2008
Location: Germantown, WI
Posts: 5,525
Thanks: 1,162
Thanked 374 Times in 305 Posts
|
Last night I ran to the local Menards and looked through their LED can light retrofit kits. I ended up finding these. They were a very reasonable $20. They fit my 6" can lights They are quite a bit heavier than I expected. They are also crazy bright at full brightness, rated for 1400 lumens @ 21W. Thankfully, they dim pretty well. I was only able to buy the remaining 4 that were in the store, but those 4 lights alone light up the room plenty good even with the dimmer at half. Once I get anther 2 bulbs it I'll likely dim them even lower. I like this idea because it should extend the life of the bulbs even further due to less heat build up. They also dim really nice compared to the incandescent bulbs I had just hanging in there. The incandescent bulbs get really orange when you dim them, the LEDs stay the same color temperature.
There is one issue that I have found though and that is that the lights buzz no matter the brightness. Its loud enough to be annoying. However, I am looking into the dimmer switch that I have because I think that that is likely an issue. If that doesn't fix the problem, I is very possible that I will return them. More info about the lights here: http://ecorenovator.org/forum/lighti...-lighting.html
__________________
Current project - To view links or images in signatures your post count must be 0 or greater. You currently have 0 posts. To view links or images in signatures your post count must be 0 or greater. You currently have 0 posts. & To view links or images in signatures your post count must be 0 or greater. You currently have 0 posts. Last edited by Daox; 02-18-14 at 10:06 AM.. |
|
|
|
|
02-17-14, 11:49 AM
|
#193 | |
|
Supreme EcoRenovator

Join Date: Mar 2009
Location: Portland, OR
Posts: 4,004
Thanks: 303
Thanked 723 Times in 534 Posts
|
Quote:
I have a remodeler friend that is absolutely aghast that I am not going with lighting cans. But I have lived in my house for 35 years, and I have changed activity locations many, many times. For reasons of air sealing, but mostly for flexibility, I have opted to put duplex outlets along the top of the walls so that I can easily rig up exactly the lighting I want at exactly the place I want later (no light, single sconce, single pendant, light strip, string of Xmas lights, etc.). I installed all of the room wiring using 3 wire Romex (3 wires + gnd). All of the duplex outlets at the top of the walls are rigged with the top outlet connected to the room light switch. Using all 3-wire leaves me with the option to add or remove a switched outlet for any duplex outlet at will (max flexibility). BTW, your aluminum floor is a thing of beauty!!! -AC
__________________
I'm not an HVAC technician. In fact, I'm barely even a hacker... Last edited by AC_Hacker; 02-17-14 at 12:00 PM.. |
|
|
|
|
|
02-17-14, 01:38 PM
|
#194 |
|
Administrator
Join Date: Aug 2008
Location: Germantown, WI
Posts: 5,525
Thanks: 1,162
Thanked 374 Times in 305 Posts
|
Switching back to the floor, for the radiused areas. I really like the mortar idea. However, I am a bit concerned that over time it will break up and not transfer heat. Do you guys think that this is a valid concern? Will it stick to the tubing and the wood and transmit heat well over the years, or do I want something a bit more... sticky?
__________________
Current project - To view links or images in signatures your post count must be 0 or greater. You currently have 0 posts. To view links or images in signatures your post count must be 0 or greater. You currently have 0 posts. & To view links or images in signatures your post count must be 0 or greater. You currently have 0 posts. |
|
|
|
|
02-17-14, 02:08 PM
|
#195 | |
|
Supreme EcoRenovator
Join Date: Mar 2009
Location: Portland, OR
Posts: 4,004
Thanks: 303
Thanked 723 Times in 534 Posts
|
Quote:
If you know some machinists who create a lot of aluminum swarf (they'll likely give it to you for free), you could wash the oil off with dish detergent and mix it with some casting plastic. You wouldn't want to mix it with mortar... I already tried it and it makes the mortar rise like bread dough, and entrain lots of holes... no good. -AC
__________________
I'm not an HVAC technician. In fact, I'm barely even a hacker... |
|
|
|
|
|
02-19-14, 04:27 PM
|
#196 |
|
Administrator
Join Date: Aug 2008
Location: Germantown, WI
Posts: 5,525
Thanks: 1,162
Thanked 374 Times in 305 Posts
|
I have zero experience with mortar. If its strong enough, it sounds like a great idea. I'm just not sure.
I suppose I could try it and let it cure then try to break it up.
__________________
Current project - To view links or images in signatures your post count must be 0 or greater. You currently have 0 posts. To view links or images in signatures your post count must be 0 or greater. You currently have 0 posts. & To view links or images in signatures your post count must be 0 or greater. You currently have 0 posts. |
|
|
|
|
02-27-14, 08:35 PM
|
#197 |
|
Administrator
Join Date: Aug 2008
Location: Germantown, WI
Posts: 5,525
Thanks: 1,162
Thanked 374 Times in 305 Posts
|
Well, I got the rest of the aluminum heat spreaders cut and stapled down over the past few days. Cutting them is kind of a pain. You can't use a shears because of the groove. So, I use an angle grinder with cutoff wheel. This works very well, but it leaves a nasty burr on the edge that you have to clean up. I had to take a knife to each piece and manually deburr the groove to make sure it wouldn't cut into the tubing. It wasn't horrible, but did take more time than I expected.
I also got the other three holes drilled in the floor. So, I am ready to put down the tubing! Here are some more images.
__________________
Current project - To view links or images in signatures your post count must be 0 or greater. You currently have 0 posts. To view links or images in signatures your post count must be 0 or greater. You currently have 0 posts. & To view links or images in signatures your post count must be 0 or greater. You currently have 0 posts. |
|
|
|
|
02-27-14, 08:46 PM
|
#198 |
|
Less usage=Cheaper bills

Join Date: Nov 2010
Location: Minneapolis, MN
Posts: 939
Thanks: 41
Thanked 116 Times in 90 Posts
|
Would a Dremel style tool have been more work to clean off the rugged edge?
|
|
|
|
|
02-27-14, 08:52 PM
|
#199 |
|
Administrator
Join Date: Aug 2008
Location: Germantown, WI
Posts: 5,525
Thanks: 1,162
Thanked 374 Times in 305 Posts
|
It might have made things go a bit quicker. Although, aluminum tends to clog up grinding bits. The knife made pretty quick work of it. The aluminum is only .020" thick.
__________________
Current project - To view links or images in signatures your post count must be 0 or greater. You currently have 0 posts. To view links or images in signatures your post count must be 0 or greater. You currently have 0 posts. & To view links or images in signatures your post count must be 0 or greater. You currently have 0 posts. |
|
|
|
|
03-25-14, 11:05 AM
|
#200 |
|
Administrator
Join Date: Aug 2008
Location: Germantown, WI
Posts: 5,525
Thanks: 1,162
Thanked 374 Times in 305 Posts
|
Its been a while, but progress is being made. Last night my lovely lady and myself installed the PEX tubing in the floor!
There is a short prequel though. I found that the joist cavity I drilled into for the tubing to go down into the basement is the one where my 16" wide field stone basement wall sits (parallel to the joists, so its enclosed). Thankfully there was an opening to run some plumbing, but it was not large enough. So, I had to chisel the the small opening I had farther open to get a tool up in it to grab the PEX tubing as it came down through the floor. This took a bit of time and delayed things nicely. Anyway, the PEX tubing went in very nice the with the RHT heat spreaders. It snaps into the groove and it holds quite well. I only had a few issues on the hairpin turns where the tubing would pop up a little. I put something on top of it to hold the tubing down, and after it set a while it seemed to be happy and stay in position. Here are the pictures:
__________________
Current project - To view links or images in signatures your post count must be 0 or greater. You currently have 0 posts. To view links or images in signatures your post count must be 0 or greater. You currently have 0 posts. & To view links or images in signatures your post count must be 0 or greater. You currently have 0 posts. |
|
|
|
|
| Tags |
| bamboo, diy, flooring, hydronic, remodel, superinsulate |
|
|


 Linear Mode

