
 |
|
|
#21 |
|
Home-Wrecker
Join Date: Sep 2008
Location: SE Wisconsin
Posts: 546
Thanks: 3
Thanked 165 Times in 96 Posts
|
Hey Tim,
Make sure to post some pictures of your loot so we can see what you got! My goal for the year is to get off gasoline, and that includes mowing lawns. Reel mowers behind the Citicar keeps getting more intruiging.
__________________
To view links or images in signatures your post count must be 0 or greater. You currently have 0 posts. To view links or images in signatures your post count must be 0 or greater. You currently have 0 posts. |
|
|

|
|
|
#22 |
|
Administrator
Join Date: Aug 2008
Location: Germantown, WI
Posts: 5,525
Thanks: 1,162
Thanked 374 Times in 305 Posts
|
I've really been slacking in the pictures department. I meant to post about the batteries early this week and didn't even pull them out of my car until mid this week. Oh yeah, the batteries came with nice trays even!
|
|
|

|
|
|
#23 |
|
Administrator
Join Date: Aug 2008
Location: Germantown, WI
Posts: 5,525
Thanks: 1,162
Thanked 374 Times in 305 Posts
|
Alright, here is what I all got.
Motor, controller (top), wires, potbox and contactors in the bin.  Motor tag and ratings. I'm glad its rated for more than 1700 rpm.  The motor has two extra wires comming out of it. Tom thought this was probably either for a temperature sensor or rpm output. 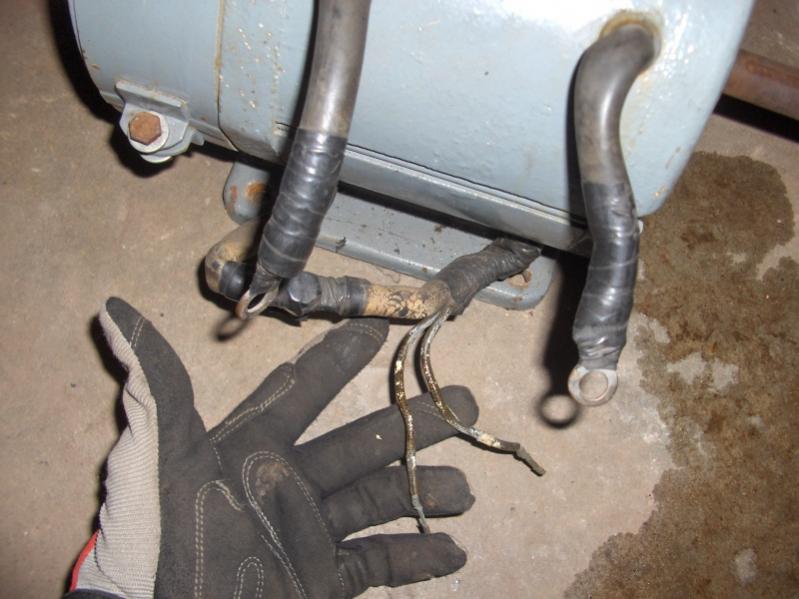 The removable foot mount. I think I'm going to take it off and try to face mount it. There are no tapped holes in the end, so I'll have to disassemble the motor and drill and tap some holes.  Its just about 7 inches in diameter. 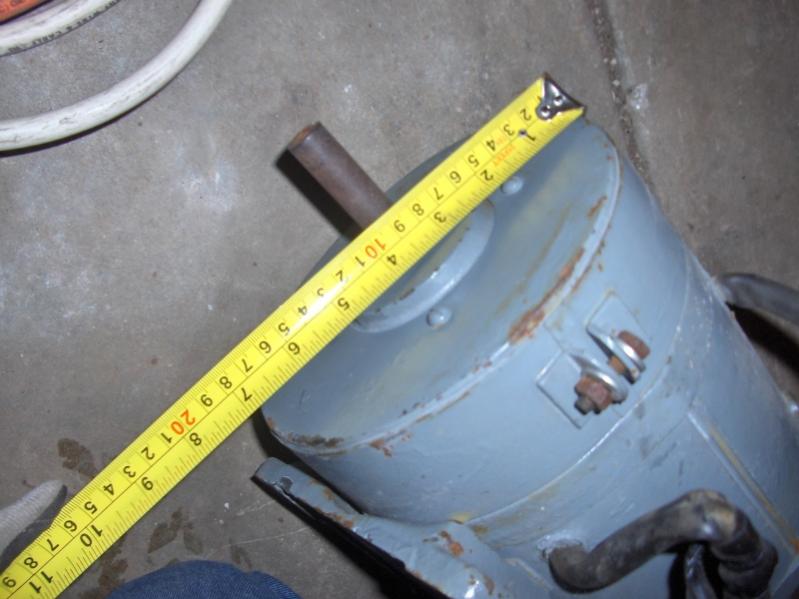 Last edited by Daox; 03-13-09 at 12:14 PM.. |
|
|

|
|
|
#24 |
|
Administrator
Join Date: Aug 2008
Location: Germantown, WI
Posts: 5,525
Thanks: 1,162
Thanked 374 Times in 305 Posts
|
The motor looks just over 8 inches long.
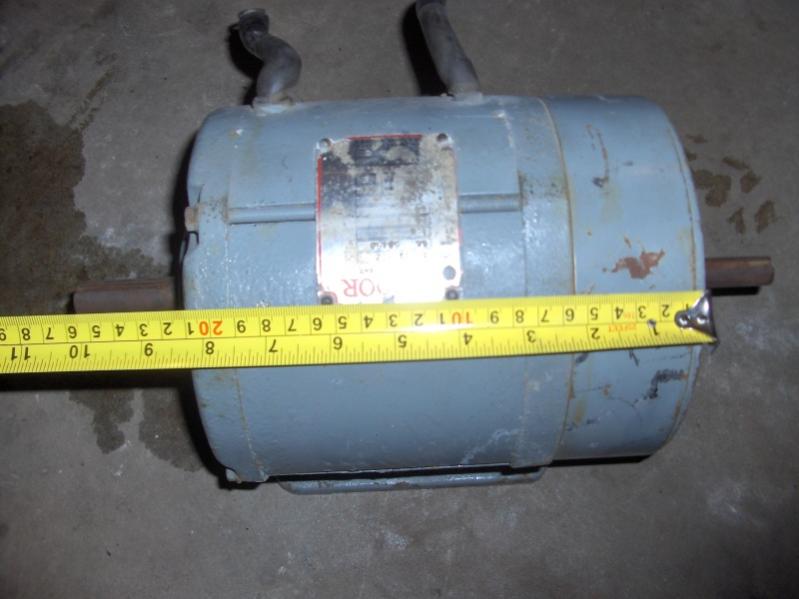 Here we have the box of contactors. 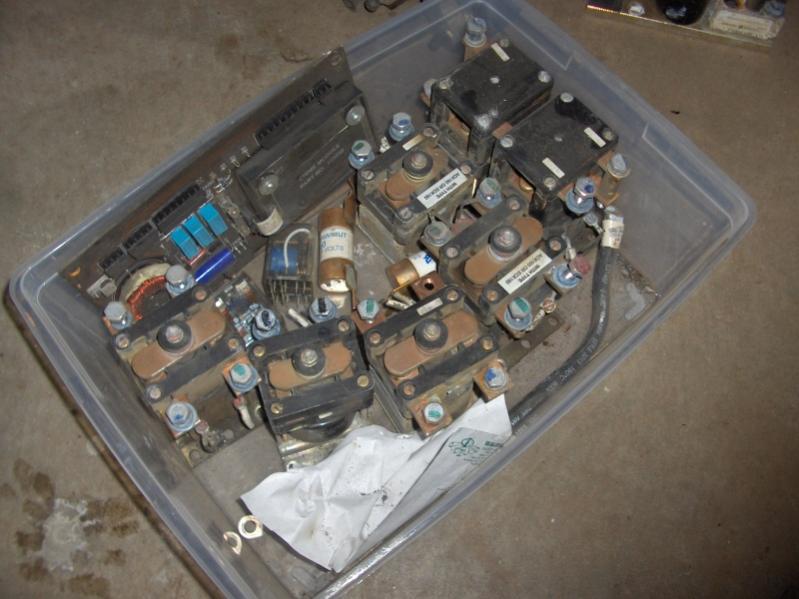 And here we have the fork lift controller and pot box.  Of course I couldn't resist a trial fit.   These are the batteries I got. They're about half the size of a motorcycle battery and are rated at 7 Ah. 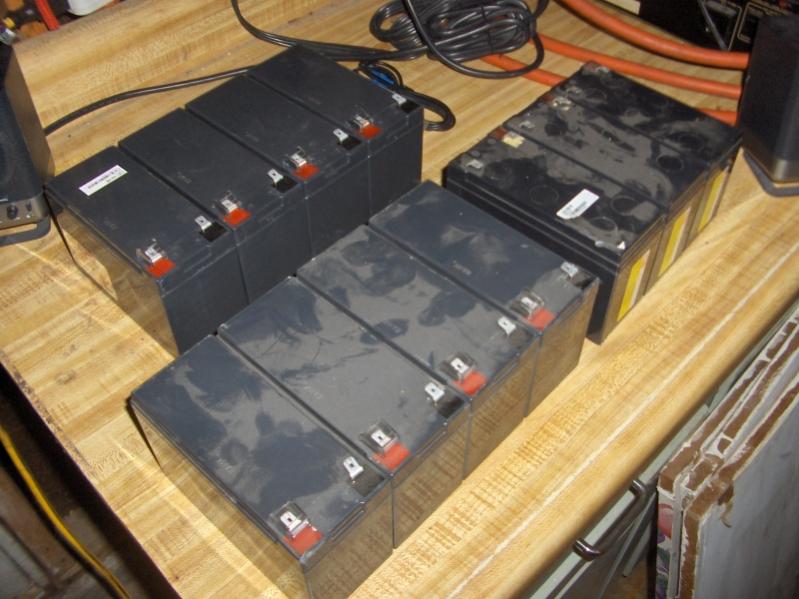 Last edited by Daox; 02-27-09 at 02:31 PM.. |
|
|

|
|
|
#25 |
|
Administrator
Join Date: Aug 2008
Location: Germantown, WI
Posts: 5,525
Thanks: 1,162
Thanked 374 Times in 305 Posts
|
The batteries even came with these nice battery trays.
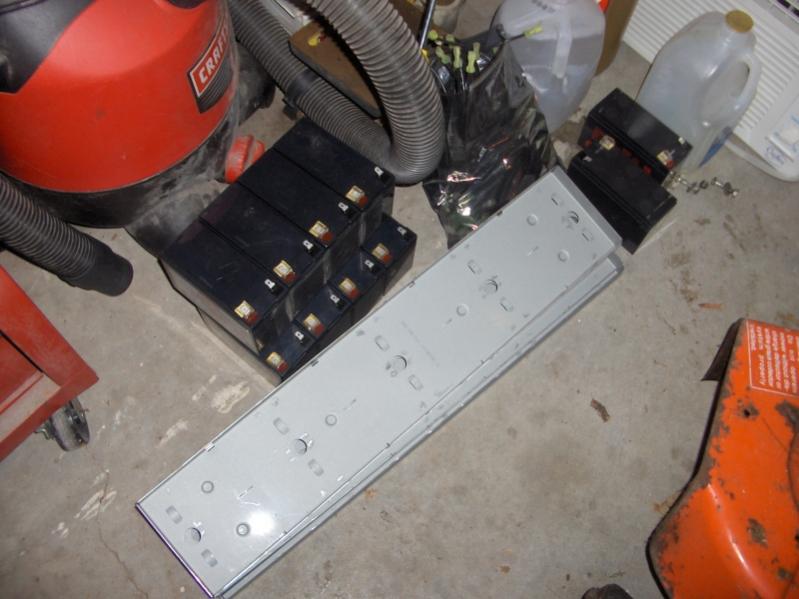 That about does it for parts. The next step will be finding pulleys for it. The two shaft extensions are different diameters, so we'll see which one its easier to find pulleys for. I've was told I can go down to the local farm supply place and pickup hubs that you just bolt different size pulleys to, so I'll probably try that out. After I have that sorted, I'll look at mounting the motor. Last edited by Daox; 02-27-09 at 02:33 PM.. |
|
|

|
|
|
#26 |
|
Infrequent noob
Join Date: Aug 2008
Location: 1000 Islands region, Ontario, Canada
Posts: 402
Thanks: 37
Thanked 20 Times in 19 Posts
|
Nice haul! Christmas came early (or late) for the project.
__________________
.
|
|
|

|
|
|
#27 |
|
Administrator
Join Date: Aug 2008
Location: Germantown, WI
Posts: 5,525
Thanks: 1,162
Thanked 374 Times in 305 Posts
|
While we're at it. Anyone got some good suggestions on color schemes? I kinda like the Simplicity colors, but I'm open to suggestions.
|
|
|

|
|
|
#28 |
|
The Gardener
Join Date: Oct 2008
Location: Manitoba - Canada
Posts: 492
Thanks: 17
Thanked 8 Times in 7 Posts
|
You strike me as someone who likes...pink...with flower decals.
 |
|
|

|
|
|
#29 |
|
Lurking Renovator
Join Date: Sep 2008
Location: Savannah, Georgia
Posts: 27
Thanks: 0
Thanked 0 Times in 0 Posts
|
That's awesome! Haven't been around here for a while, but just dropped back in to ecorenovator and found this cool project. Gotta say finding a motor is the hardest part. If the one you have is permanent magnet, don't bother with a controller. Use a contactor and continue to use the transmission to change the ground speed. You'll just have to change voltage and/or pulley and belt sizes to get the same speed the Briggs had.
I've finally resigned to sandblasting my E15 elec-trak "basket case" myself and using regular paint (powder coating shops around here cost 3-10 times what they do in the rest of the country). I've got most of the parts, but have a LONG ways to go...I am trying to put together a restoration album, though. |
|
|

|
|
|
#30 |
|
Administrator
Join Date: Aug 2008
Location: Germantown, WI
Posts: 5,525
Thanks: 1,162
Thanked 374 Times in 305 Posts
|
Last night it was a bit warmer out and I took some time to work on the mower.
The first thing I did was take the motor apart. I want to drill and tap the face of the motor so I can just mount it flat against the mower frame. So, I needed to know if there would be enough material to screw into, and if the screws could protrude into the motor at all without hitting anything. The picture shows the flange that will be facing downward. I didn't measure the exact thickness, but it should be just fine. 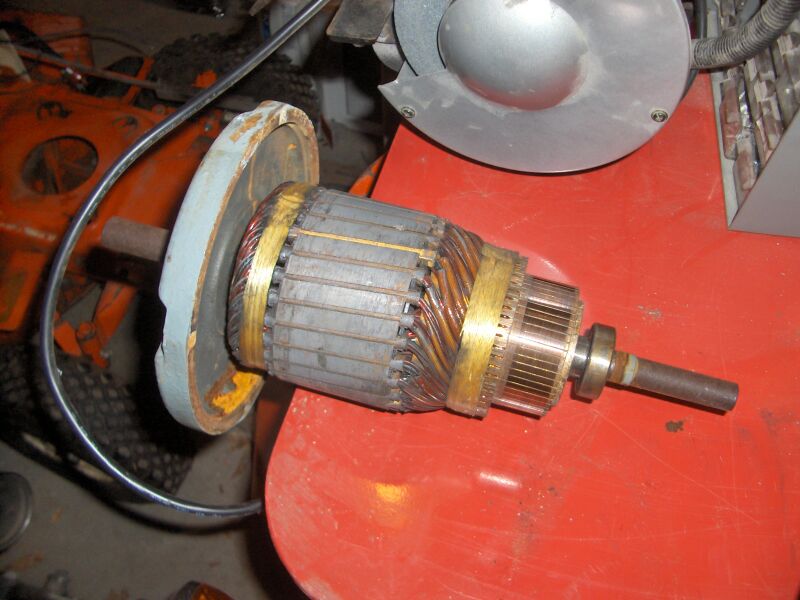 The motor housing and brushes also looked in good shape. There appears to be plenty of meat left on the brushes. It also seems to be fairly clean. 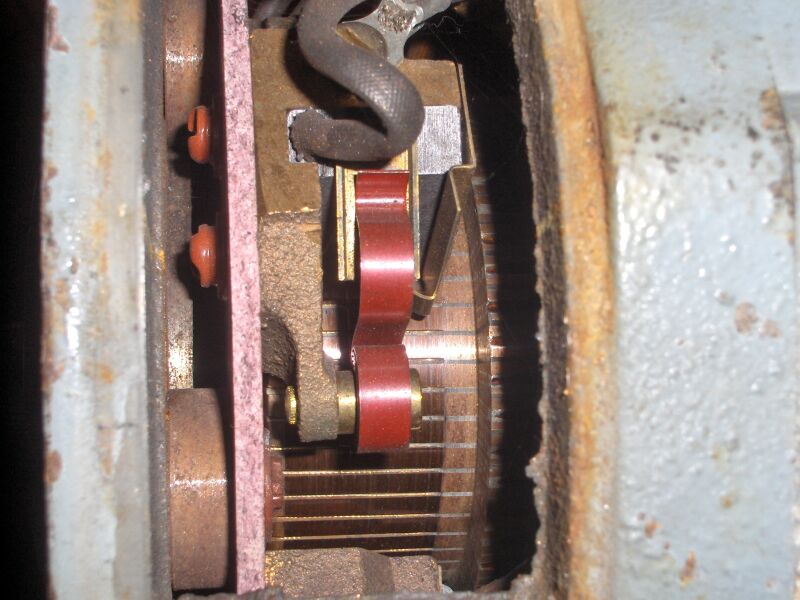 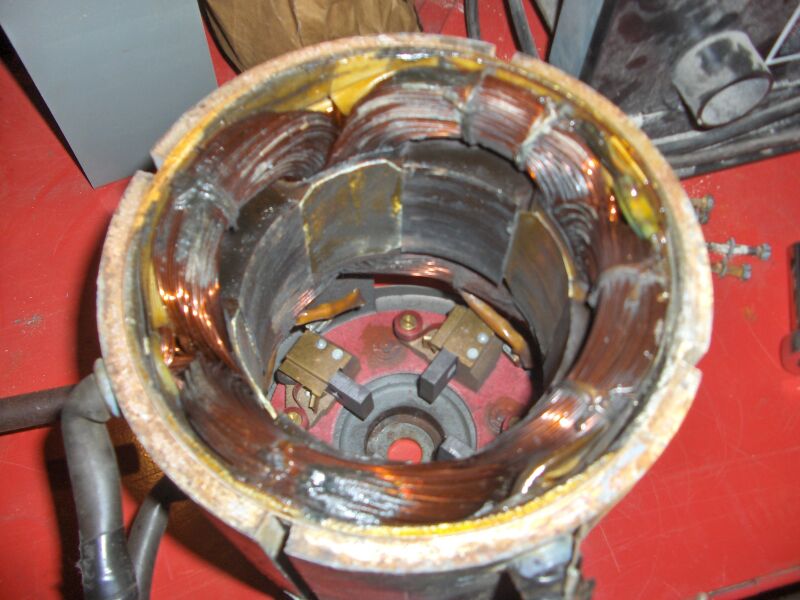 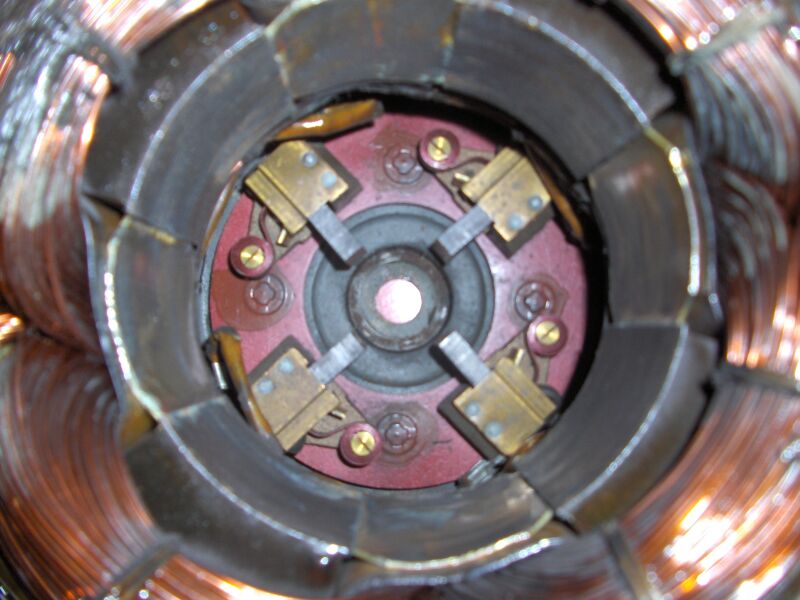 Last edited by Daox; 02-27-09 at 02:44 PM.. |
|
|

|
 |
| Tags |
| conversion, electric, lawn mower, tractor |
|
|