
 |
|
|
#21 |
|
Lex Parsimoniae
Join Date: Feb 2009
Location: Woburn, MA
Posts: 4,918
Thanks: 114
Thanked 250 Times in 230 Posts
|
Cement is porous and water will wick into any wood in contact with it.
If you place your 4x4 mailbox post in the ground, it will slowly rot away. If you put it in cement, it will rot away faster, since water will run down the post and into the seam, where the wood can soak it up. & rot. Found some tips at How To Set a Post in Concrete - Learn How at ACME DIY.com "Setting the Post The extra six inches in the depth of the hole is for gravel. If a wood post, even treated wood, touches the soil or is completely encased in concrete, it will prematurely rot. Metal posts will rust. Setting the post onto 6" of gravel allows the water to drain away instead of ruining the post. Adding gravel will add a lot of time to the life span of a wooden or metal post. Tamp down the sides and bottom of the hole and then add the gravel." |
|
|

|
| The Following User Says Thank You to Xringer For This Useful Post: | Daox  (10-04-11) (10-04-11) |
|
|
#22 |
|
Administrator
Join Date: Aug 2008
Location: Germantown, WI
Posts: 5,525
Thanks: 1,162
Thanked 374 Times in 305 Posts
|
Alright, I'm moving forward with this and am running into a big issue. Basically, I believe the grade of the ground away from the house isn't going to allow me to bury all the pipe underground. The picture below basically illustrates the problem I think I"m going to have. The only difference being that there is going to be a fair amount of pipe sticking above ground. I'm thinking I could fix this by bringing in fill and basically having a mound that follows the pipe out to the panels. I'm not worried about freezing as the pipes will be insulated, more so just about the look of the yard, mowing, etc.
I'll be measuring everything this weekend to see how bad the problem really is. So, I'm looking for any ideas on how to fix the problem. I know I could go with a glycol system, but I really don't want to have to. Its more expensive and more of a pain.
__________________
Current project - To view links or images in signatures your post count must be 0 or greater. You currently have 0 posts. To view links or images in signatures your post count must be 0 or greater. You currently have 0 posts. & To view links or images in signatures your post count must be 0 or greater. You currently have 0 posts. |
|
|

|
|
|
#23 |
|
Lex Parsimoniae
Join Date: Feb 2009
Location: Woburn, MA
Posts: 4,918
Thanks: 114
Thanked 250 Times in 230 Posts
|
I take it this will be a drain-down system with a vacuum breaker on top of the highest panel plumbing?
If the lines are really long in the down hill part, once the pump shuts down and the vacuum breaker opens air into the loop, the water in the down hill section will really be pulling a good suction on all the water, so even a couple gallons stuck in a little dip in the lines might sucked right back into the tank.. You might need to test the idea to see how it works. It all depend on how low the tank is and how long the down-hill section of line is.. My neighbor across the street uses a long down-hill run on his sump pump hose.. Many times, 10 minutes after his pump turns off, the long hose is still siphoning water out of his sump hole. It's got to lift that water up about 8 feet out of the basement.. |
|
|

|
|
|
#24 |
|
Administrator
Join Date: Aug 2008
Location: Germantown, WI
Posts: 5,525
Thanks: 1,162
Thanked 374 Times in 305 Posts
|
Yes, it will be a drain back system. The panel rack will be roughly 80 feet from the tank. That means it needs a 20" incline over the 80 feet to meet the 1/4" per 1ft rule.
__________________
Current project - To view links or images in signatures your post count must be 0 or greater. You currently have 0 posts. To view links or images in signatures your post count must be 0 or greater. You currently have 0 posts. & To view links or images in signatures your post count must be 0 or greater. You currently have 0 posts. |
|
|

|
|
|
#25 |
|
Helper EcoRenovator
Join Date: Mar 2011
Location: Sarnia, Ontario, Canada
Posts: 91
Thanks: 8
Thanked 2 Times in 2 Posts
|
If you were to add fill in the "problem" area, you could accomplish two things. One is that the pipe is underground; the other is that more of the leg/cement column would be covered and thus add more support against wind.
__________________
TomS |
|
|

|
|
|
#26 |
|
Home-Wrecker
Join Date: Sep 2008
Location: SE Wisconsin
Posts: 546
Thanks: 3
Thanked 165 Times in 96 Posts
|
I think some fill is a good idea.
It will look better, be easier to mow around, etc. Try to do some volume calculations, so you have a good guess as to how much fill you need.
__________________
To view links or images in signatures your post count must be 0 or greater. You currently have 0 posts. To view links or images in signatures your post count must be 0 or greater. You currently have 0 posts. |
|
|

|
|
|
#27 |
|
Administrator
Join Date: Aug 2008
Location: Germantown, WI
Posts: 5,525
Thanks: 1,162
Thanked 374 Times in 305 Posts
|
Well, I measured things today. It looks like I'm going to need quite a bit of fill just as I thought. The edge of my yard is 3.5 ft from the basement floor as shown in the picture below. I had planned on the tank being about 4.5ft tall. Then, you have to add the slope for the drain back piping on top of that. 80ft at .25 inches per foot gives us 20 additional inches. So, it looks like I'm short about 2.5feet at the edge of my lawn. Plus, you need to have a few inches of dirt over that, so lets just say 3 feet. That sounds like a LOT of fill...
__________________
Current project - To view links or images in signatures your post count must be 0 or greater. You currently have 0 posts. To view links or images in signatures your post count must be 0 or greater. You currently have 0 posts. & To view links or images in signatures your post count must be 0 or greater. You currently have 0 posts. |
|
|

|
|
|
#28 |
|
Administrator
Join Date: Aug 2008
Location: Germantown, WI
Posts: 5,525
Thanks: 1,162
Thanked 374 Times in 305 Posts
|
After calculating things and remeasuring I found out I would need bring the ground level up at least 2.5ft to bury the pipe. So, I've decided to go with a closed loop glycol system.
Other than that, we started building the rack today. After some talking with my father in law, we changed the design of the solar rack and also increased the height of it. In preparation for digging the trench to the rack, we dug out the flower bed around my porch. Digging under the porch will be the fun task for tomorrow. 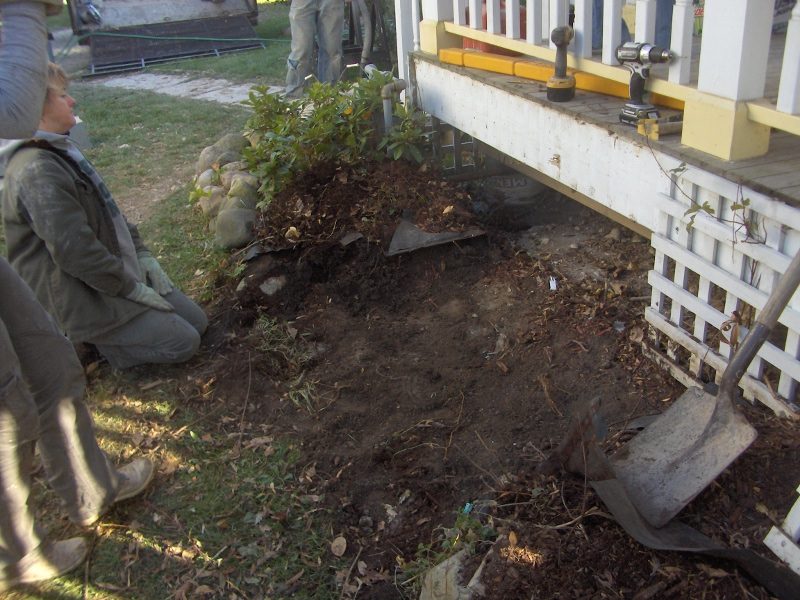 This is the location the solar rack will sit. We had to cut down a few trees that were in the way.  In the morning we went to the equipment rental place and got us one of these. I gotta say, this thing works like a dream. We had to drill five 10" holes four feet deep. With this machine it didn't even take two hours. Well worth the ~$75 it cost to rent. 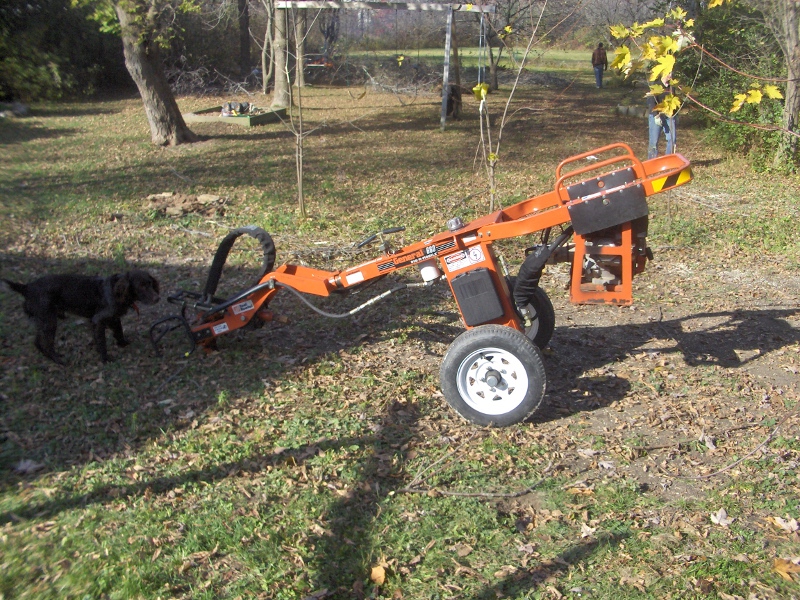  Here are all the holes dug, its hard to see but there are five holes dug over roughly 35 feet. 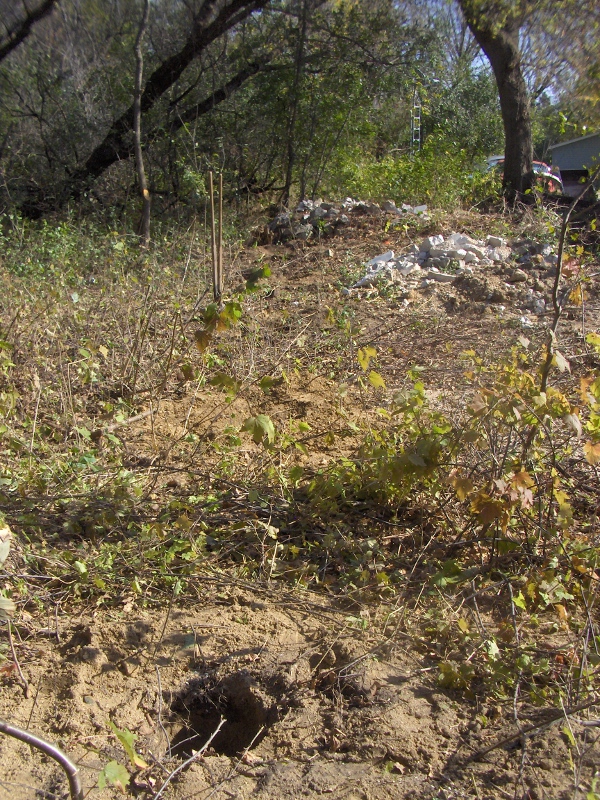 These are the posts we used. We nailed and screwed a few 2x6s to create a 6x6 20 feet long. This thing was heavy! We made and used five of them.  As you can see, its no short piece of lumber, and that is with 4 feet in the ground.  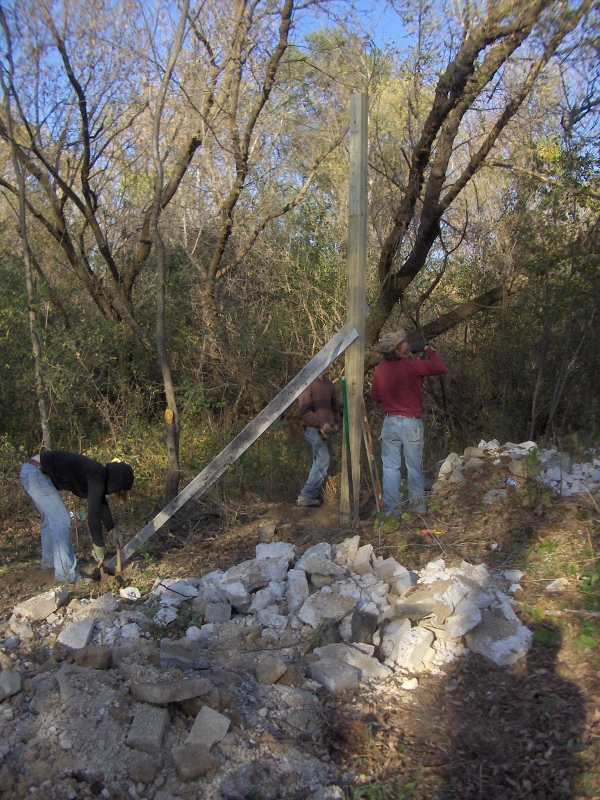 After getting the first post up we noticed we needed to do a bit more tree trimming. 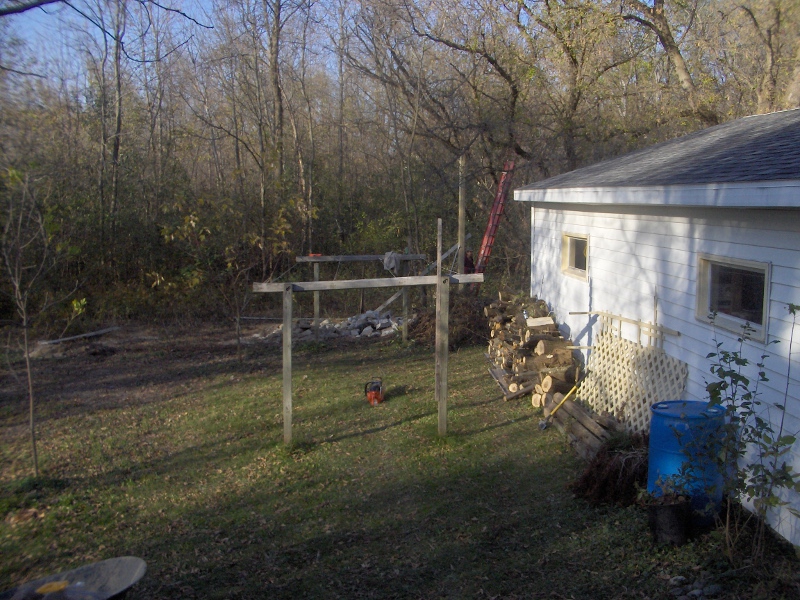 And here is the far post put up. We got all 5 posts put in the ground and cemented in. However, it was too dark to take pictures by then. I'll snap a few in the morning.  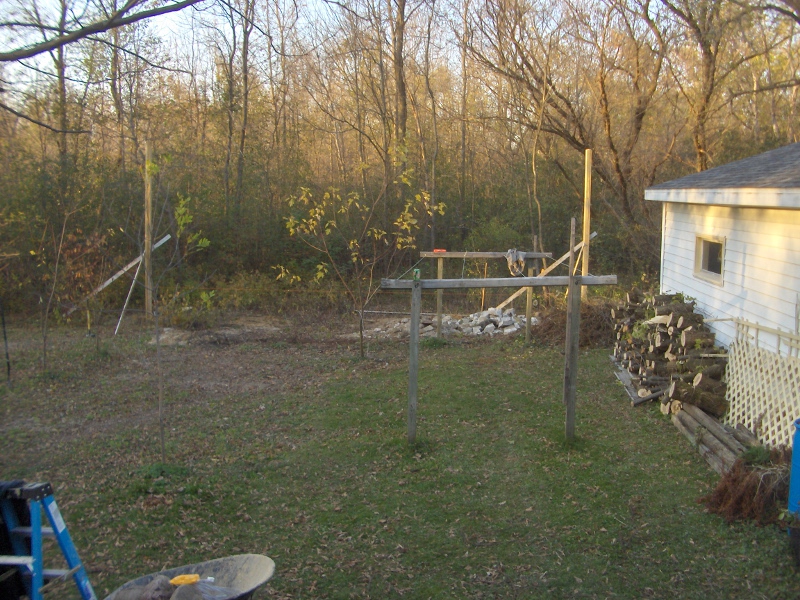
__________________
Current project - To view links or images in signatures your post count must be 0 or greater. You currently have 0 posts. To view links or images in signatures your post count must be 0 or greater. You currently have 0 posts. & To view links or images in signatures your post count must be 0 or greater. You currently have 0 posts. |
|
|

|
|
|
#29 |
|
Administrator
Join Date: Aug 2008
Location: Germantown, WI
Posts: 5,525
Thanks: 1,162
Thanked 374 Times in 305 Posts
|
Here is a shot of the rack with the posts up.
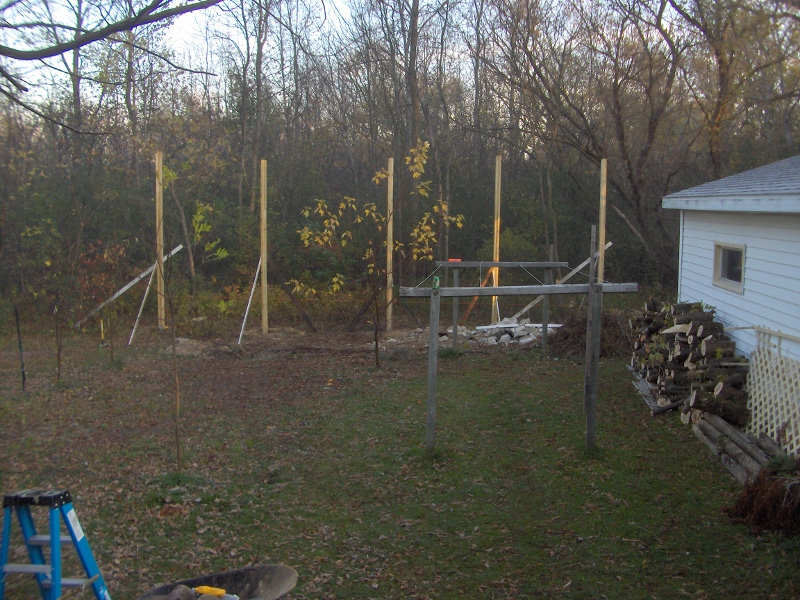
__________________
Current project - To view links or images in signatures your post count must be 0 or greater. You currently have 0 posts. To view links or images in signatures your post count must be 0 or greater. You currently have 0 posts. & To view links or images in signatures your post count must be 0 or greater. You currently have 0 posts. |
|
|

|
|
|
#30 |
|
Lex Parsimoniae
Join Date: Feb 2009
Location: Woburn, MA
Posts: 4,918
Thanks: 114
Thanked 250 Times in 230 Posts
|
Sweet, the sun is already on one of the posts!! Looking good!
PS: That 7Up can is still on the clothesline post.  Or is that Dew? |
|
|

|
 |
| Tags |
| "solar mount design", design, panel, rack, solar |
|
|