
 |
|
|
#1 |
|
Apprentice EcoRenovator
Join Date: Aug 2012
Location: North Alabama
Posts: 167
Thanks: 0
Thanked 40 Times in 20 Posts
|
Last year's garden had a lot of problems, including an inadequate seedling grow light. Last year, my seedlings were really leggy and weren’t developing very well. I was forced to put them outside way too soon, and those conditions killed them quickly. Basically, I forgot to bring them in one too many nights (due to the cold) and forgot to water them one too many mornings. I wanted to remedy this and upgrade to LEDs, but still be cost effective. FYI, you can really learn a lot about indoor growing from watching the pot grower’s YouTube videos and reading some of their forums.
I ordered 13 – 10W LED full spectrum (400nm, 840nm) COBs from the old flea bay for $19.88. I ordered the 10W COBs because they had the lowest $/Watt at $0.11/Watt. 10w 20w 30w 50w 100w COB full spectrum led chip 400nm~840nm plant grow light #B | eBay I also ordered 12 – 10W DC to DC constant current LED drivers for $13.32. Practical 10W 12V- 24V DC LED Constant Current Driver Power 900mA High Power LED | eBay In addition, I ordered Chinese-ium grade “thermal adhesive” from AliExpress for $0.58, including shipping. For $0.58 you can’t go wrong in a cheap project like this! From Lowes, I got 3’x1.5”x1/8” Aluminum flat bar for $8.78 (ouch!) and aluminum 23 gauge 2’x6” sheet for $15.61 (double ouch!!). Fortunately, I am a dumpster diver, so I had an old desktop computer supply (actually 3) laying around that I wanted to base this whole project around (since those are usually the biggest cost). Also, I had scavenging parts from a free rear projection TV I found on Craig’sList, which included two very beefy heat sinks. For my LED grow light design, I wanted the aluminum bar to be the backbone and the main heat conduction path for the LEDs and heatsinks. I also wanted to be able to remove the reflector, if needed, and service the LEDs if they ever burned out. I cut the 3’ aluminum bar down to 18” (so I can make two lights if I want), drilled and tapped it, and laid out the LED COBs. 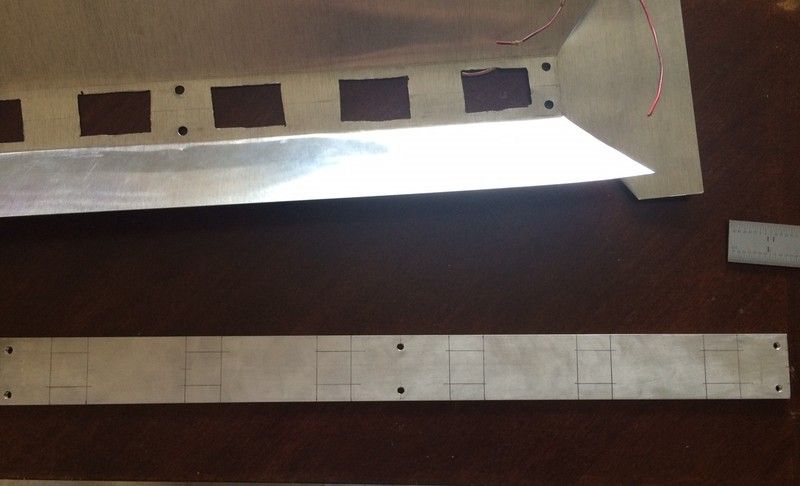 I had a bunch of old automotive wire laying around from when I scrapped out my “race car” and soldered wires to the LED COBs and adhered them to the aluminum bar. 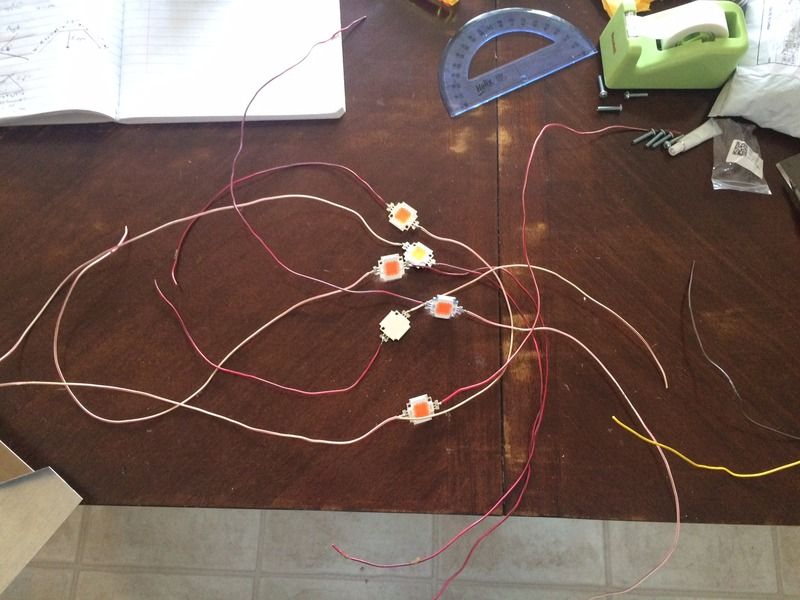 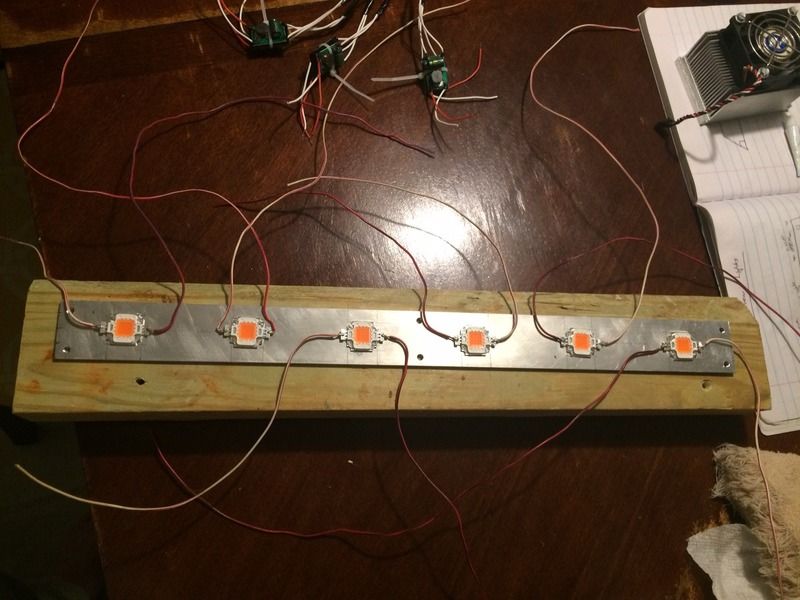 Just a note about the “thermal adhesive.” I tested some adhesive the night before on two small pieces of aluminum and it did not break loose very easily at all, and it took prying with pliers to break the bond. I would not recommend bonding a heavy heat sink with just the thermal adhesive, but something small and lightweight like an LED COB, it is perfect! I cut the aluminum reflector to be mounted on the bottom side of the aluminum bar and fit around the LED COBs. 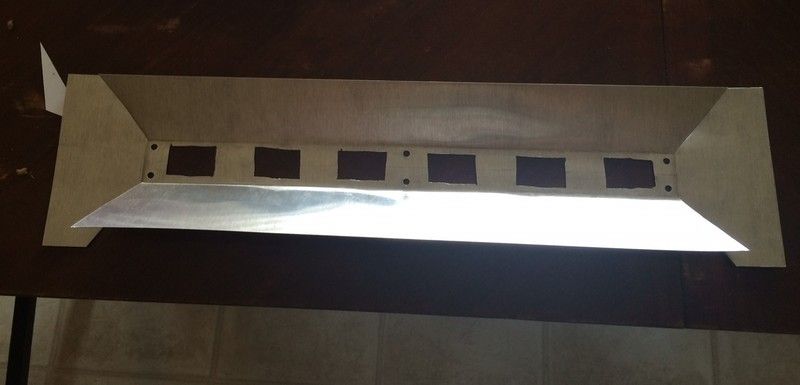 The LED drivers are quite small. I put electrical tape on the back of them all, zip-tied them back to back, creating three legs, and wired them up to the power supply. 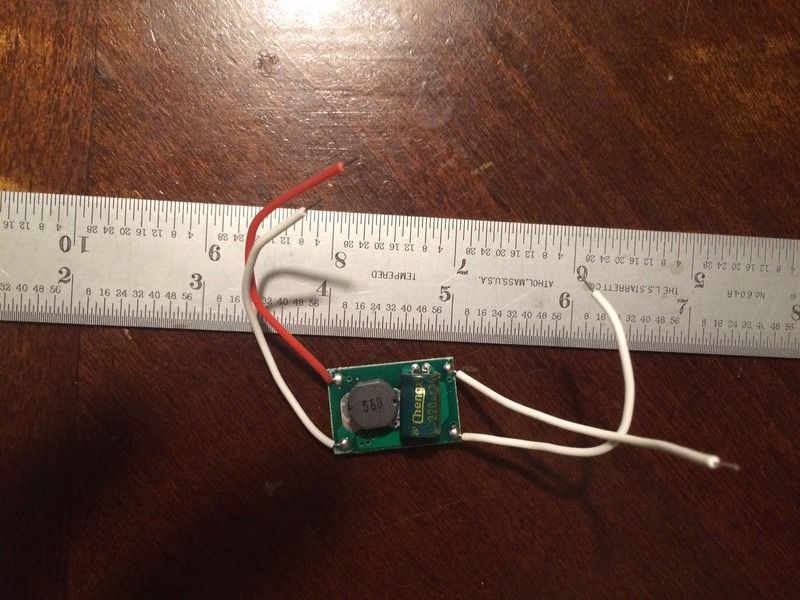 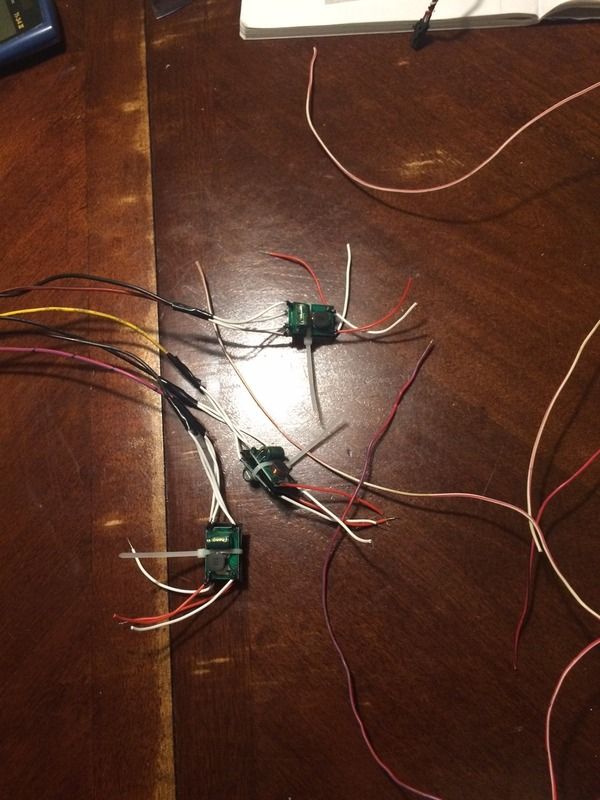 Everything wired up and ready for a test run. 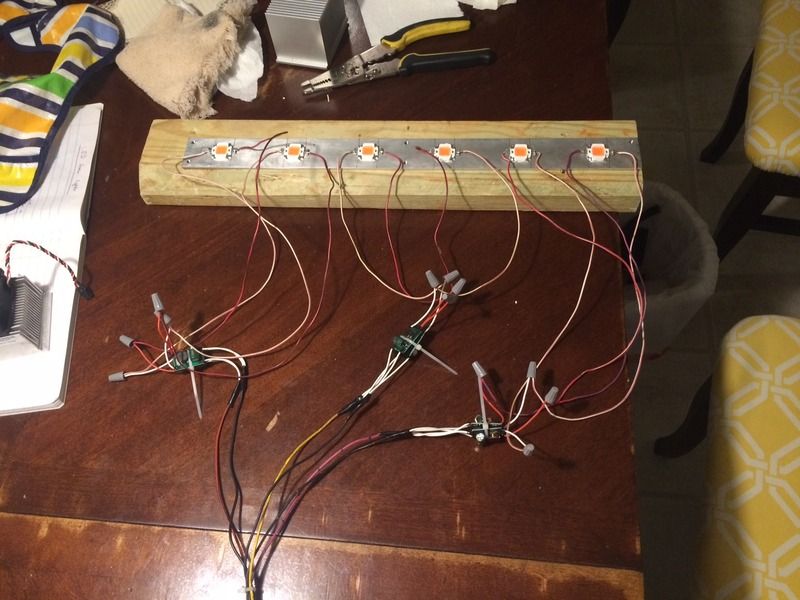 Blindingly bright! I was wearing cheap sunglasses and the color still messed with my eyes a bit. 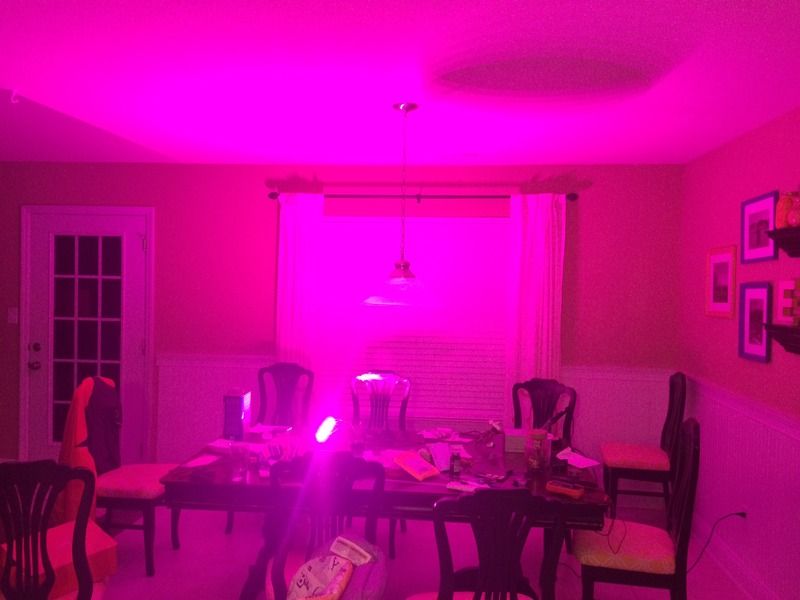 As a very poor comparison, here is what my old 2’ long 2 - T12 bulb florescent grow light setup looks like (only one was of the “grow” spectrum variety because they are so expensive): 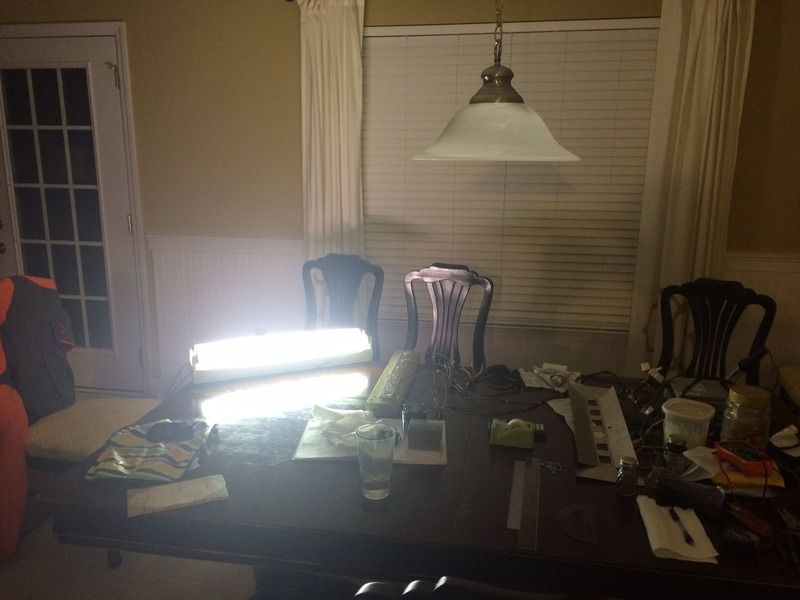 My old florescent setup would draw about 36W, while the new LED setup hovered around 75W. I still have to attach the heat sinks and reflector but I am quite satisfied with the results so far. Also, I am going to see if the heat sinks are adequate for passive cooling or if I need to attach some small CPU fans. So far, the total expenses for this project is $58.17, but priced out per unit it is actually $37.18. I believe I spent close to $30 for my 2’ florescent setup, including a single “grow” variety T12 bulb. When I build a second light setup, I will likely just use plated sheet steel for the reflector instead of aluminum. I originally wanted the reflector as part of the heat dissipation, but as I got into the build, I determined that was not going to be feasible. That should drop the unit cost well below $30. I will post up pictures of the finished product once it is complete. |
|
|

|
|
|