
|
 11-08-11, 10:59 AM
|
#10 |
|
Apprentice EcoRenovator
Join Date: Feb 2011
Location: Driftless Region, North America, Earth, Solar System, Orion Arm, Milky Way Galaxy,Virgo Supercluster
Posts: 116
Thanks: 13
Thanked 35 Times in 25 Posts
|
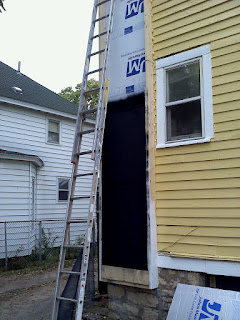 Baffle in place. 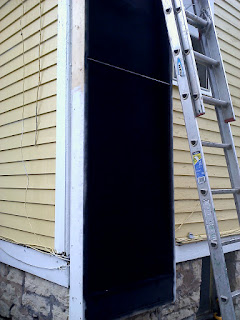 Baffle insulated on inside and painted. You can see the 3/4" metal conduit support bar as well. The side 2x8s are painted with several coats of primer and gaps with the siding are being caulked in. 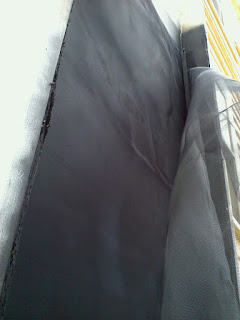 One side of the two layer screen absorber. because of the height of the panel the absorbers are placed in a "sideways V" arrangement. Heres what it looks like from the right side view: |\| |/|  Closeup of the screen absorber. This is just the first layer above the baffle. 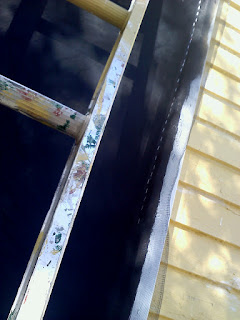 Detailing the sides. The clear suntuff type polycarbonate will go over this so i want it to look nice   Another shot of the support bar. You can also vaguely see the 2 layers of screen in place.  Polycarbonate starting to go up. Its sealed with silicone caulk and secured with rubber washer roofing screws. There is a vertical wood bar up the middle to secure the 2 polycarb sheets together.  filling in the top.  Top done. The top is insulated on the inside with 2 layers of polyiso. The exhaust wraps around the side of the house into the units kitchen. the ducting is currently insulated with a polyiso box filled with sprayfoam (i like sprayfoam ) The very top is also insulated with spray foam. The exhaust boxing and angled top detailing will wait till spring.The blower is a Suncourt TF104. It's controled by a plug-in thermostat (commonly used in greenhouses). It has an electronic sensor so i simply extended it from the furnace room into the panel with some thermostat wiring. The exhaust has a hinged dryer vent to prevent backflow. |

|

|
| The Following User Says Thank You to menaus2 For This Useful Post: | Daox  (11-08-11) (11-08-11) |
| Tags |
| air to water, heat exchanger, pvc, solar hot air, water tank |
|
|


 Threaded Mode