I ended up having to reprint the bottom piece. The two end holes were 1/16" off and it just didn't line up nicely. Cut twice measure once, right?

I'm still working on that. Anyway, it now assembles nicely and things line up great. It even looks pretty good IMO.

I put some rubber D-shaped weather stripping in the bottom piece to cushion the battery pack. Its darn near perfect. It starts mashing the rubber with a ~1/8" gap.

With the handle attached, it was time to slide in the battery pack. It fits with a little resistance. There is a bit of a gap side to side, but not bad.

Next up I put the wires on the batteries. I ended up having to drill out the holes that go from the battery compartment to the electronics compartment. I apparently didn't look up what gauge wire to use to handle the possible 10A draw. I think I settled on 14 gauge.

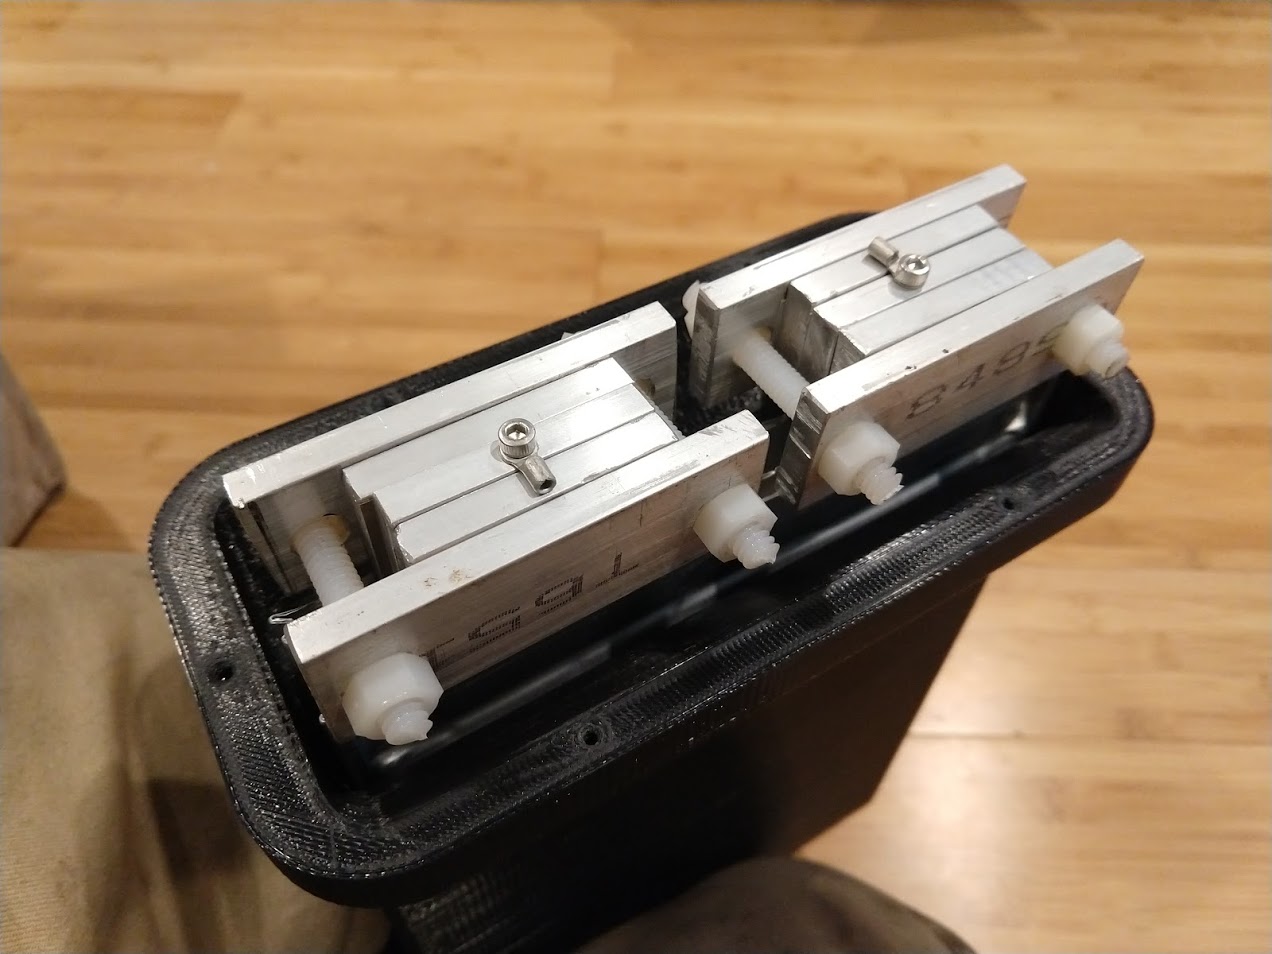
Here we have the unit mostly assembled and ready for electronics.

