Alrighty, finally found time to start work on the long awaited update to the already amazing water heater. First round of business, prove WHY this was "needed".

This update will do the following.
Dehumidify my indoor air.
Cool my indoor air.
Save energy because the ground at 30' deep right now is only 55F, while my indoor air is 76-78F.
And 4th produce water to "flush" my dogs homemade liter pan. Yes you read that right.
So onto the build. First step was finding the right size coil. I thought it a good idea to go BIG, as in HUGE. First reason because everyone who has built one of these monsters has their coil freeze up, and reason two being that I want to use as small a fan as possible to save energy.
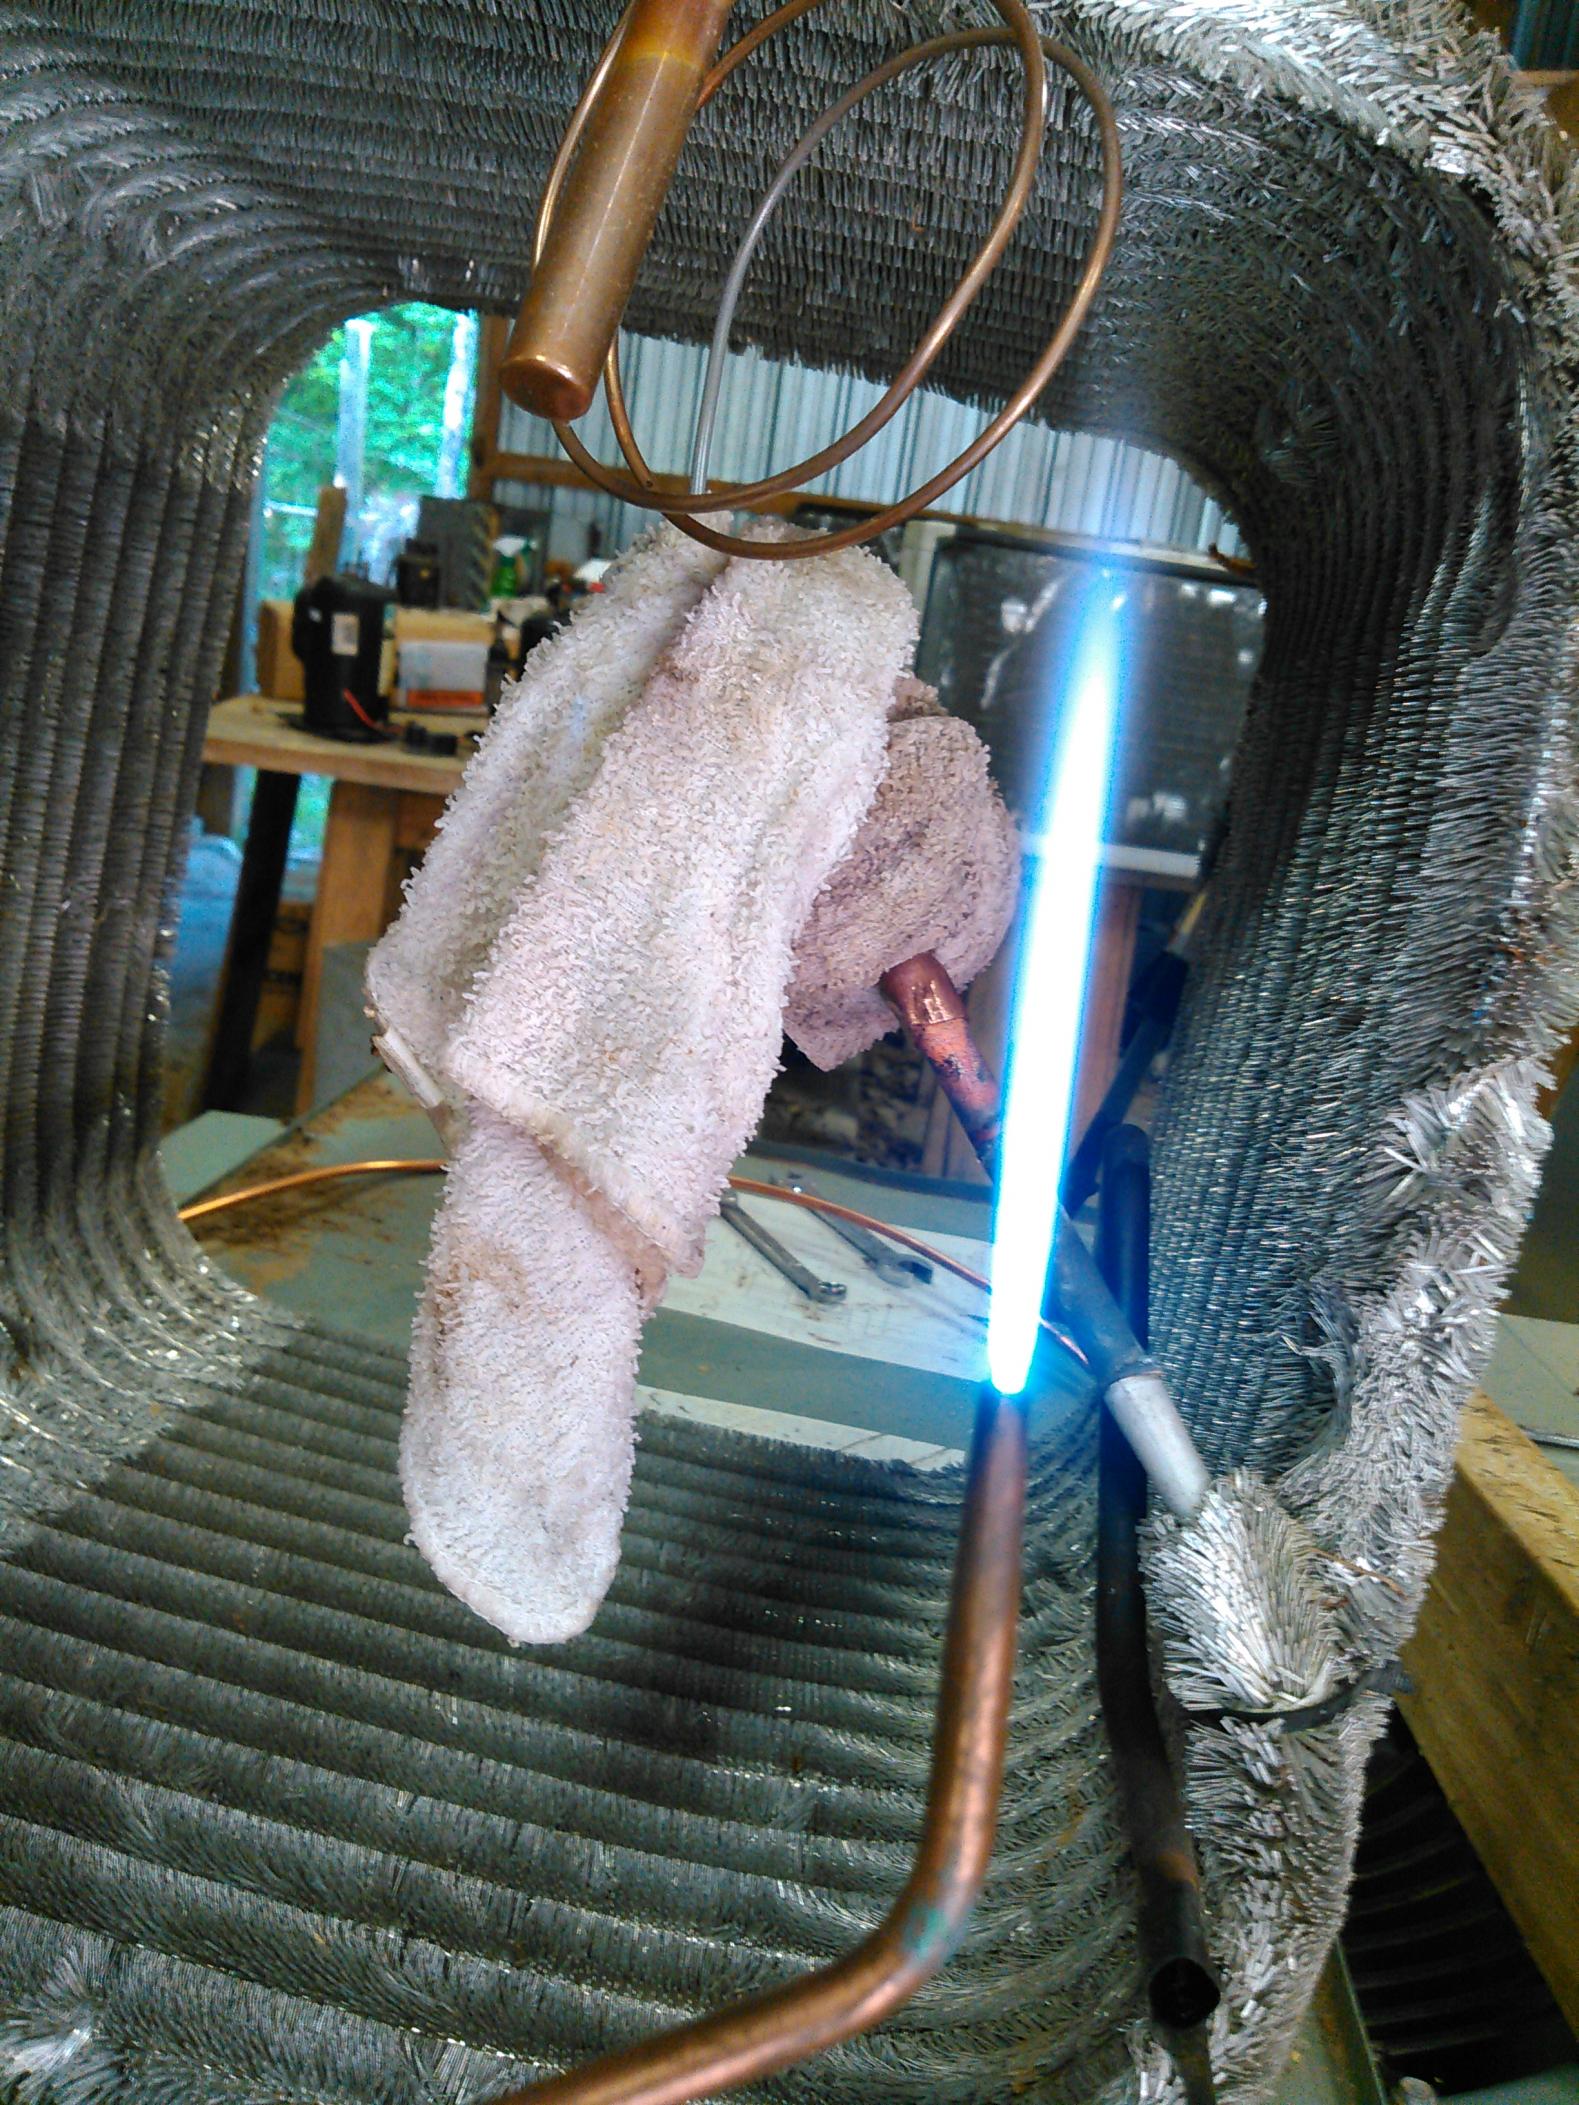
I selected an amazing trane 2 ton coil. Yes 2 ton.

Then I needed a drip pan. I just used the bottom of the unit I stole the coil from.

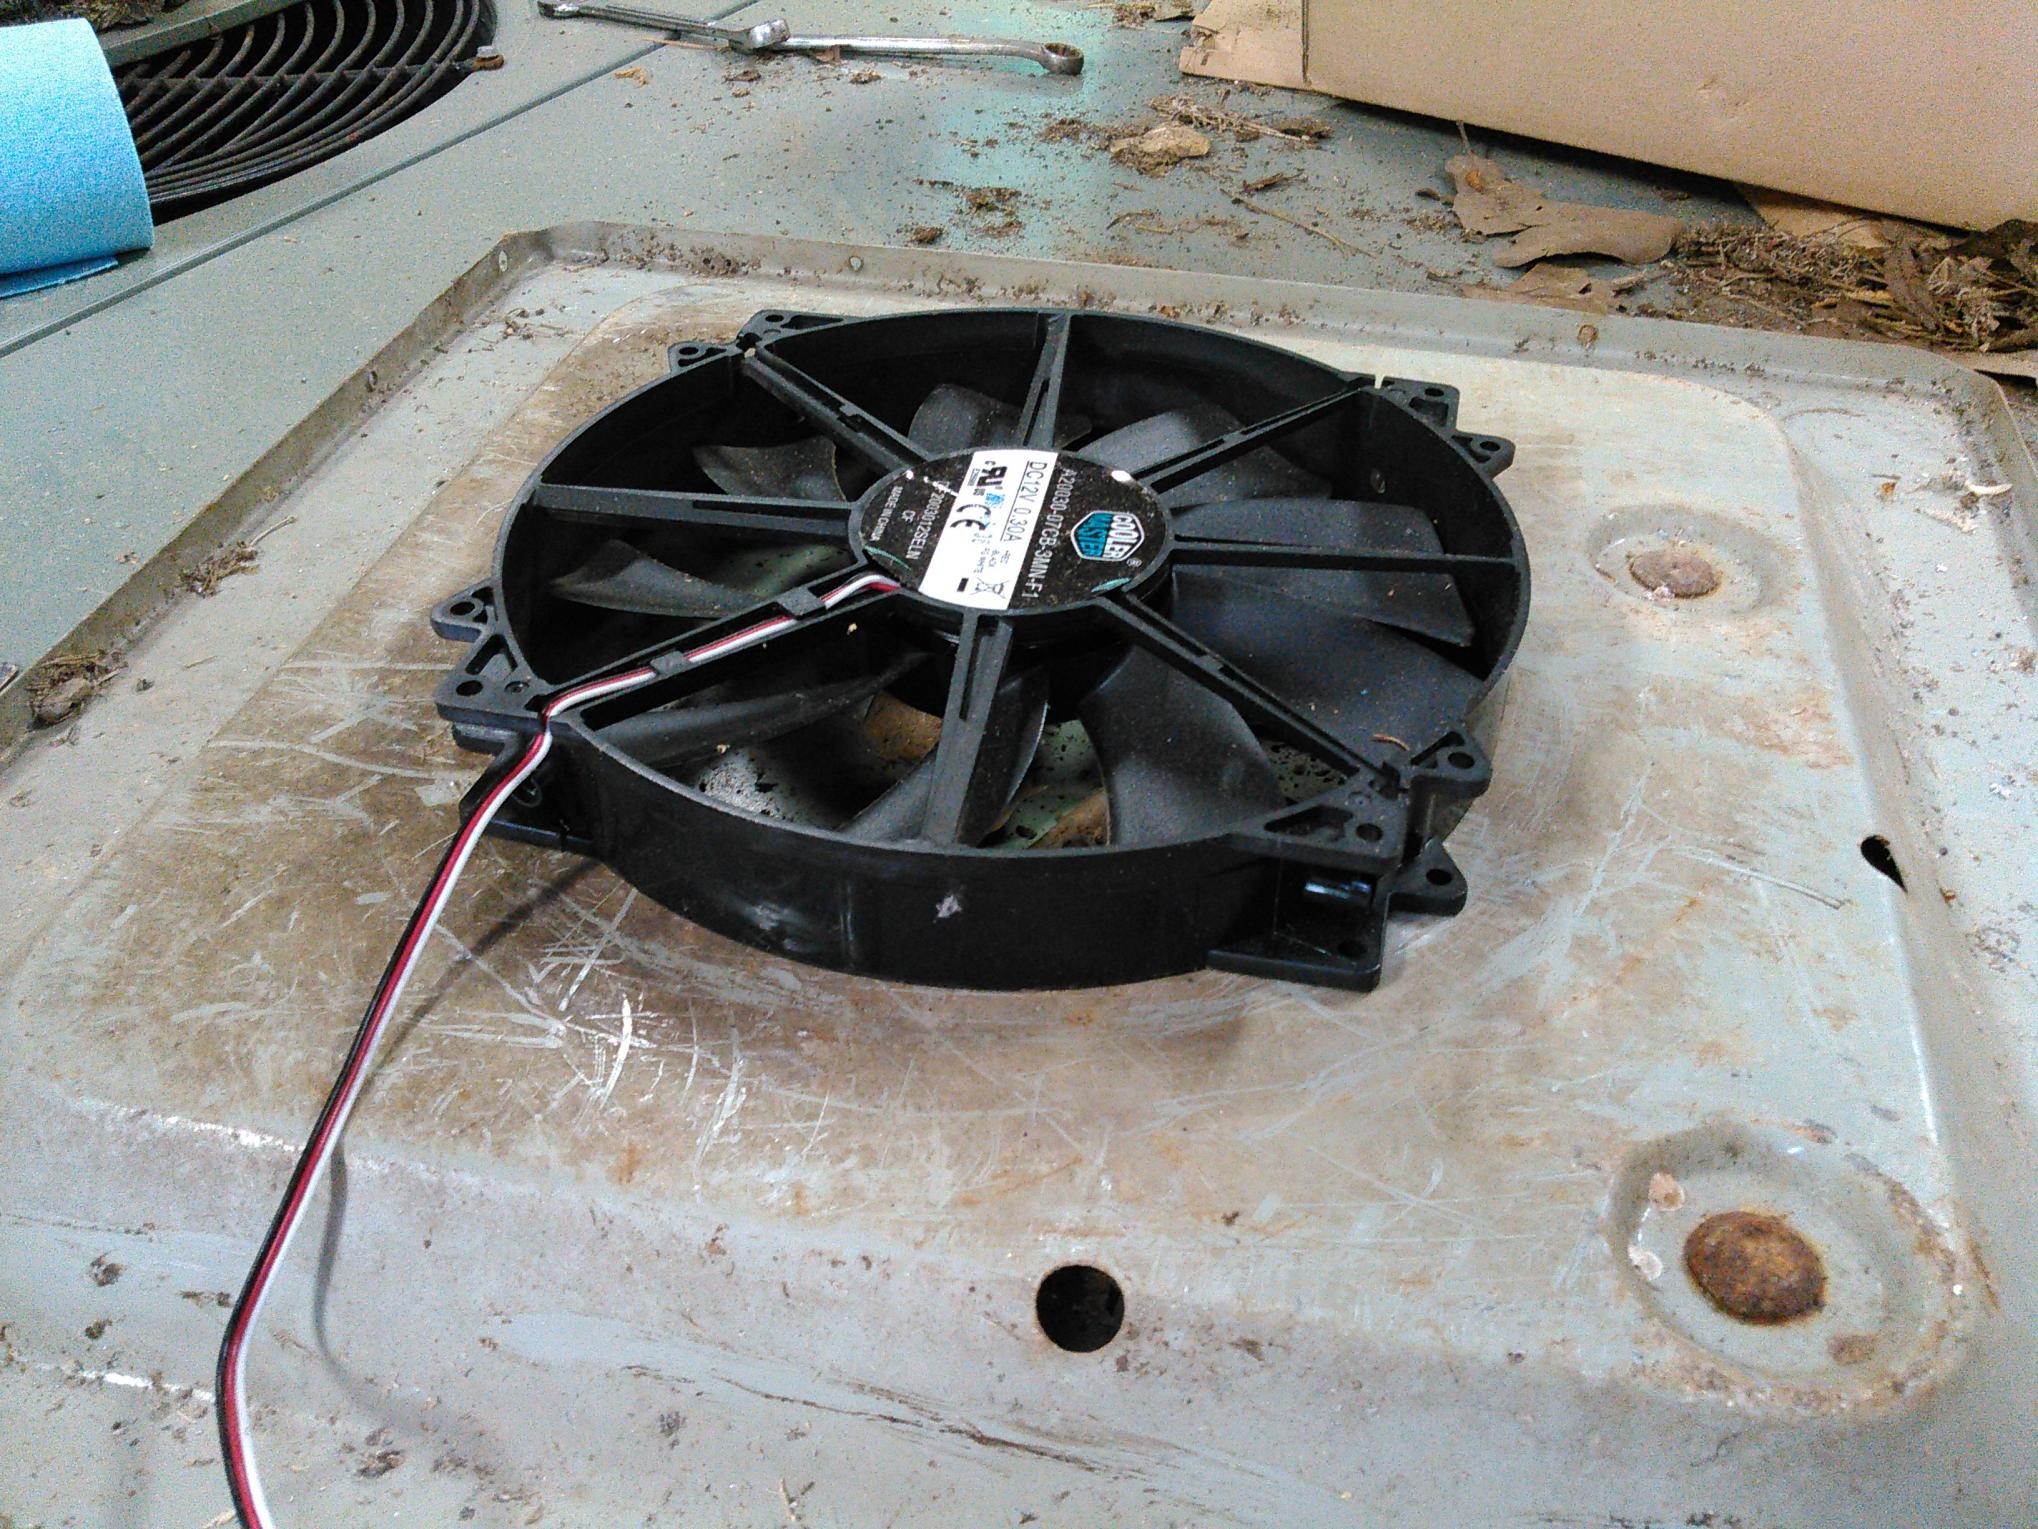
Next I used one of my large 110 cfm dc fans.
https://www.amazon.com/gp/product/B0...?ie=UTF8&psc=1
Added a drain tube and cut the supports.


Then the brazing began! First was the half ton TXV.

Then everything gets bolted together (glued/mold free silicone)

And lastly (for tonight) she get mounted to the wall.

I will have ball valves on both loops in order to control which loop for which season. Hence the need for the TXV, cap tubes need extremely fine tuned charge, while a TXV is sightly more forgiving. I would rather a little wasted power vs flooding my compressor with liquid propane.
More to come soon!