I wanted the uprights to contact the frame at two points on each side: lower chain stays, and the seat stays.
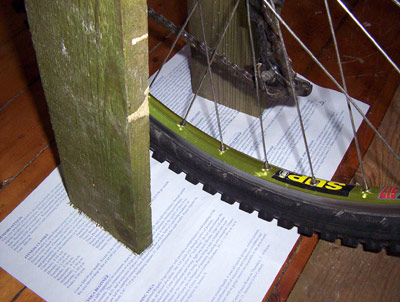
So I started by putting the bike on a sheet of paper and laying the boards against the bike to find the right width/angles at the base, which I traced out. As a result, the uprights have both
negative toe-in and
negative camber, to use some car terms:
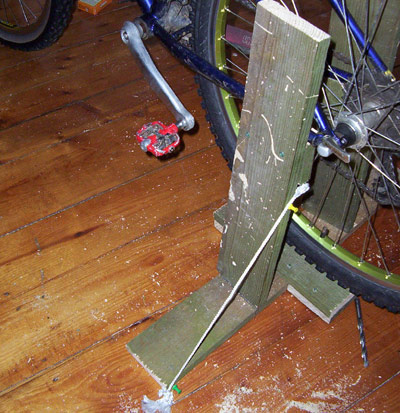
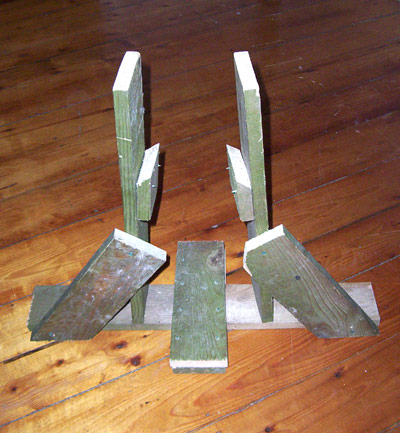
To keep the thing from collapsing over sideways, I needed to buttress the uprights from the wide base. Triangulate! I checked to see how high I could attach the brace with some string (to make sure my heel cleared it when pedaling):
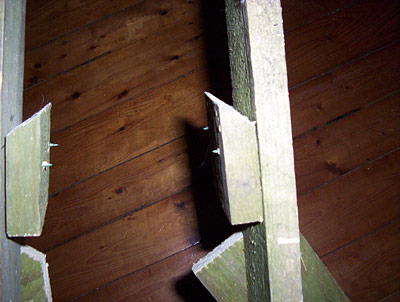
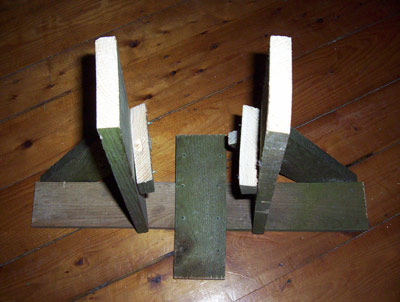
The chainstays rest in these cradles attached to the inside of the uprights:
Here's the finished stand, from above. Fore/aft stability is provided by that piece screwed to the base that runs underneath and inline with the tire. You can also really see the "toe-in" adjustment in this pic:
It's not quite as strong in the "fore / aft" plane - no triangulation. But it doesn't feel like it needs it. I can add something if need be (I'd like to watch someone else riding it).
And from the rear:
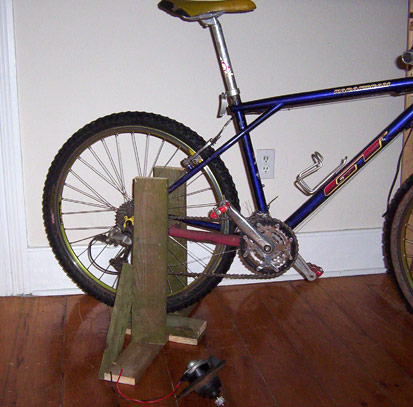
Whole thing took a couple of hours tops, to make, and seems to support the bike solidly with the rear tire about 2 cm off the base.