Our house doesn't have an attic, there is just a 50cm thick slab of concrete on top of the last floor. In that slab is a "tunnel" with a hatch at the top, allowing access onto the roof.

In the above pictures the two arrows show where you can see light from the outside. This means that the hatch doesn't insulate very well (you can feel cold air dropping down onto you when you stand under it in the winter). So, the first step was to add an insulating liner around the frame of the hatch to seal it.
The next step was to add a second hatch under the first one, creating a 15cm airspace between them, something like a double-pane window. The inner hatch is just an old board I found in the garage, cut to barely fit in the tunnel. I glued two pieces of 5cm thick scrap styrofoam to the top side for extra insulation, and added a handle on the bottom to ease removal.
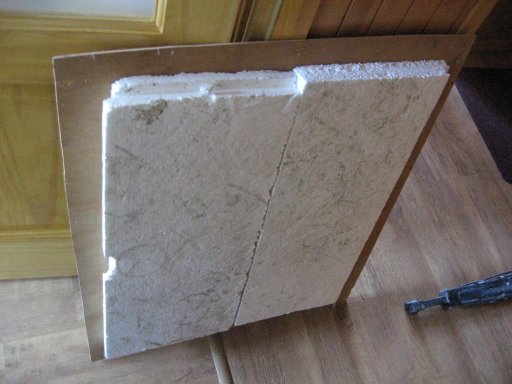
The new hatch is pressed to the bottom of the frame with a wingnut in each corner. The perimeter of the frame bottom will also be lined with an insulating strip so that the joint with new hatch is also as airtight as possible.

This will definately reduce the amount of warm air the house loses through the hatch in the winter, though I doubt that it is enough to put a noticeable dent in the gas bill. Hopefully it will be warmer upstairs.