After the four columns were installed, I took over on the assembly. I added the DPW pipe column top pieces, the 43' cross beam {3 sections}, the bracketry for the rails the solar panels mount on, the rails and then the panels themselves. Spacing the rails in a reasonably even manner across the beam was more difficult than I thought it would be. I did a lot of readjusting to make them fit around the obstructions and make them look right to the eye. Another issue I ran across was that the stainless steel fasteners would gall if I tried to take them apart after tightening them down. I destroyed several fasteners before asking someone how to get around the problem. The solution was to apply some Loctite Anti-Sieze Compound liberally to the threads of every fastener before I put the nuts on and tightened them.
I had a lot of practice installing the 24 solar panels. I put them all on in exactly the same manner the first time. Three panels fit onto one pair of rails, and there are eight pairs of rails. {Going forward, I'm calling those three panels on a pair of rails a column of panels.} When I was finished, I looked back at the wiring diagram and saw that every other column of panels were to be installed opposite the column next to it. That way, every two side by side columns of panels would have their junction boxes facing one another.

After removing and reinstalling half of them, I called Daryl and told him he needed to check my work so we could wire it up and finish it. He came out and quickly pointed out that I had not installed the grounding clips that go under the corner of EVERY panel. I didn't have to take them off, just loosen one corner of each panel to install the clips. There's also the time involved in making sure all the spacing is the same on all the panels so that when you step back a bit and look at your work, it looks like you put them on with care, not haphazardly. I wanted it to look neat and orderly, so ....
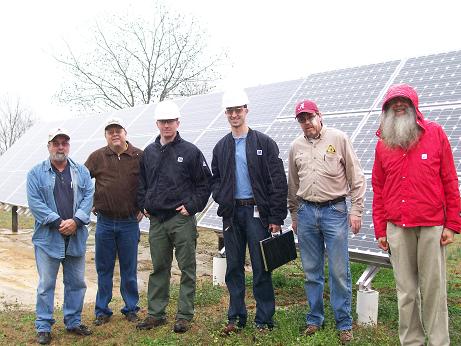
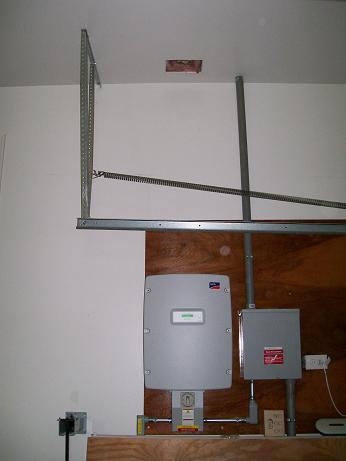
I 'm adding the pictures of the finished arrays and a closeup of the decal we printed to show the tilt angles. I also put a small label at the top to show the summer and winter combinations so that the two racks will be tilted to as close an angle as possible. As close as they are together, if they aren't tilted to almost the same angle, they will cast a shadow on one another during the course of the day. I also want to show you the folks from commissioning the array. From left to right, my electrician {licensed electrician is required by TVA to sign off on the install}, then me, the 2 TVA inspectors, our local utility supervisor / inspecter {this is the very first PV system commissioned in AEC service area}, and Daryl. A final picture showing the Sunny Boy in my garage, and if you look close enough you can see the Enphase Envoy propped up one the lower right side of the picture.