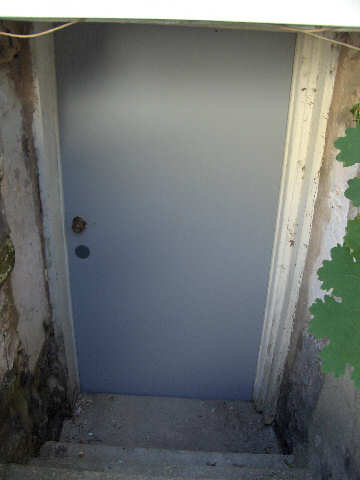
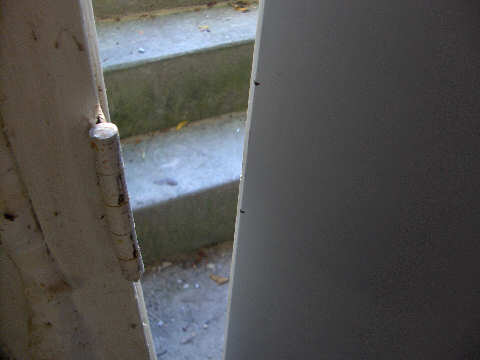
The next thing on the list was to replace my horrible outside access basement door. You can see from the picture that a little air was getting through it. It also likes to leak water in when it rains since there is currently no cover on the stairway outside.
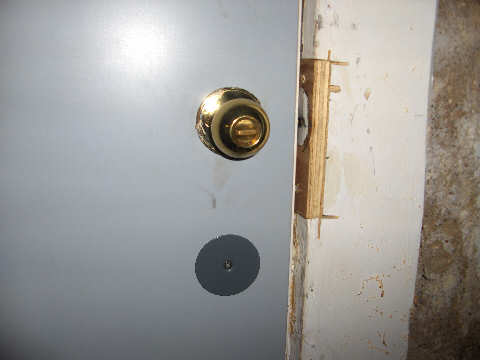
It had been recommended that I get an insulated metal door as a replacement. I also got a tip that you can get damaged doors from home improvement stores super cheap. So, I went and checked it out. Sure enough, I ended up finding a nice grey door with two holes in it (lock and handle). There was a little damage on the top where the metal didn’t fold over just right, but nothing that prevented normal operation. So, I picked it up for $3. The block off for the door and weather stripping cost more than the door itself!
We reused the door handle and hinges. The door frame was in alright condition, but we took off most of the trim off to make sure that the door closed tight.
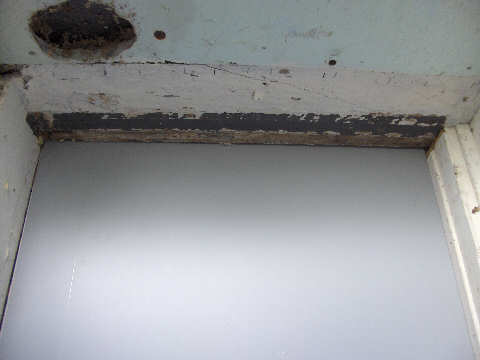
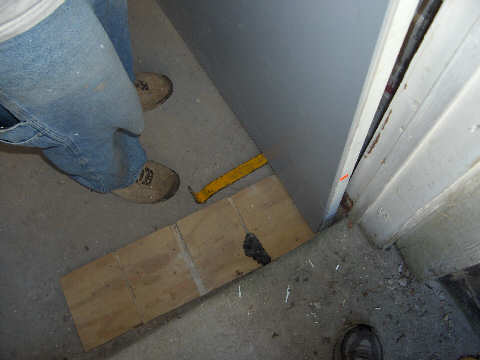
The bottom of the door butts up against the lowest step of the stairs that come in from the outside.

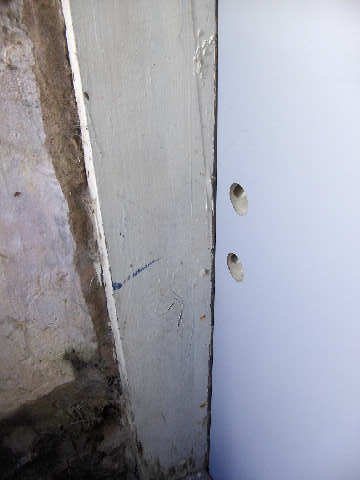
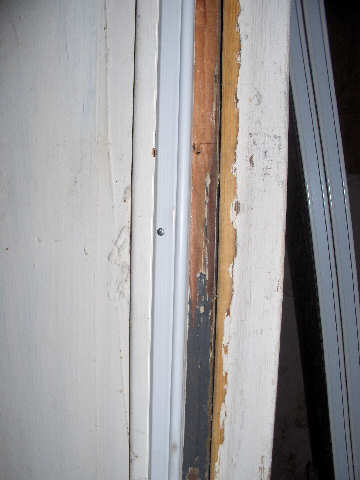
Side of the door.
Next, we figured out the height we wanted the door at to keep it from scraping against the floor and ceiling and marked where the hinges should line up.
To get the door up to the correct height, we used a pry bar to shim up the door until it was at the right height. Then we screwed in the first screw on the top. We double checked that it closed well, and then lined up the rest of the hinges in relation to the first and screwed them to the door.
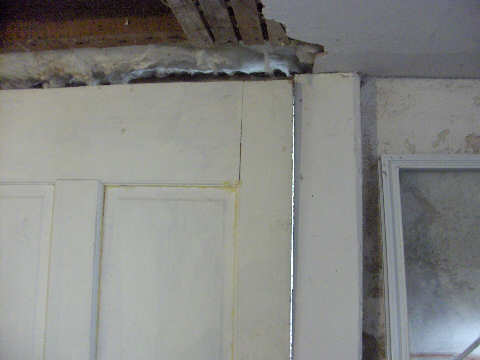
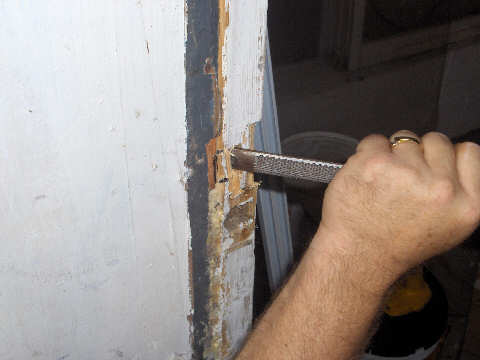
With the door hung, we still had a few more things to do. First was moving the jam a little higher than it originally was. We got a chisel and started carving it out.
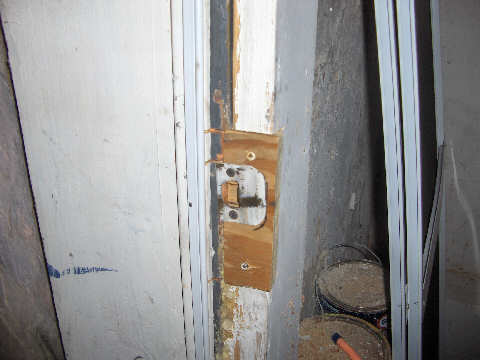
In my case, the wood behind the jam was pretty shot. So, I had to replace it with a new piece of wood. This was no big deal. We just cut out the old section of wood, cut a new piece, and screwed it in place. Heres a picture taken after the fact.
Moving on, I filled the extra door hole with expanding foam and let it dry. Then, I put the blocking cover over it. I also took the handle out of the old door and reinstalled it into the new door.
The last thing to was add some weather stripping around the door to ensure it seals up. There are many different types of weather stripping, but for this instance I chose to use the type that has a squishable rubber tube attached to an aluminum rail.
Installation is very simple. Close the door to line up the weather stripping against it. Open the door and move the weather stripping toward the door just a tiny bit to ensure that it seals tight. Now, hammer the nails into the strip. Normally that would be enough. However, in my case, I had to add one more piece. I added a stick on piece of insulation to the door that contacts the side of the bottom stair. This should seal the whole thing up fairly good.
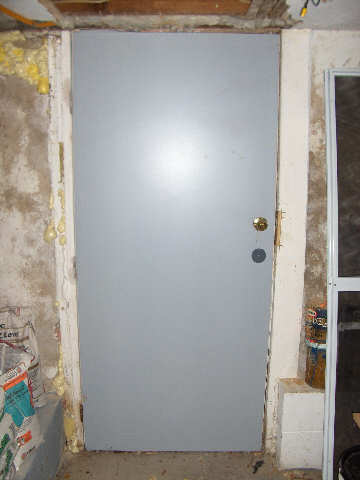
That does it. Here is the new door installed and with no light shining around it.
If you liked this post, please sign up for our RSS Feed to get updates.


Comments on this entry are closed.