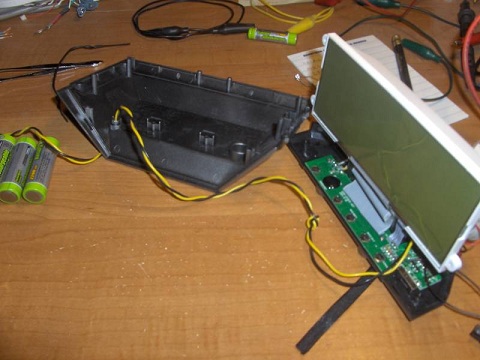
First, we found a clock that we wanted to use, then we selected the solar components, and then we tested the clocks power consumption. Next, we are going to start modifying the clock to make it solar powered.
Thankfully, this is really quite simple. We have no charge controller since we aren’t going to charge the batteries very quickly at all. So, we really just need to figure out a way to wire the solar panel to the alarm clock batteries so that when the sun is shining it will charge them.
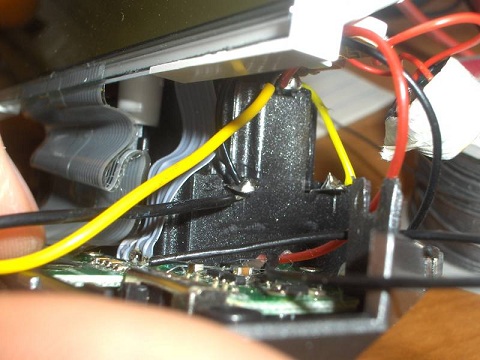
To do this, we need to pop open the clock and took a look around. We need to find the positive and negative end of the battery pack. Once we find the positive and negative terminals, a wire needs to be soldered to each end. These wires are what our solar panel will connect to.
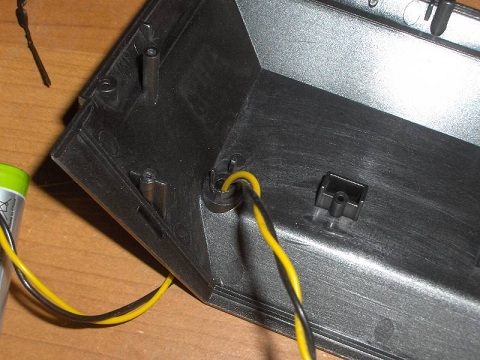
The wires need to get outside of the case to connect to the solar panel. So in my case, I drilled a hole in the back side of the clock housing. There was conveniently already a nice little boss in the plastic, so I used that.
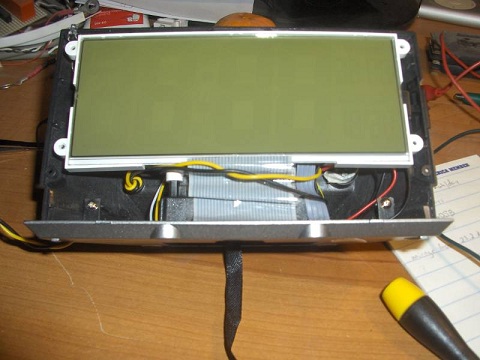
Lastly, I recommend tying a knot in the wires on the inside of the housing. This prevents them from being pulled and the soldered joints breaking from too much flexing.
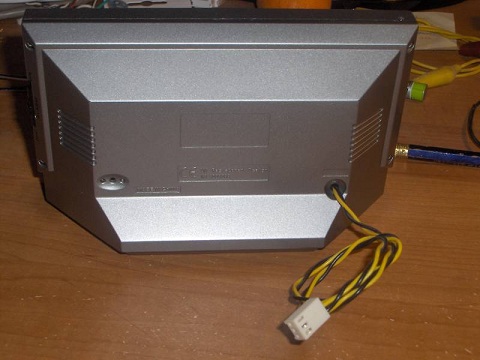
On the end of the wires is a standard 3 pin plug like you would find on a computer fan. This will allow me to plug and unplug the solar panel and do some testing easier for our next article on the alarm clock.
For more informaiton, see the forum thread.

{ 1 comment }
brilliant idea…No need to consume electricity…
Comments on this entry are closed.