For about a year now I’ve been using the mower. Its worked amazingly well and I love it. However, it does still have a few issues. The main issue I have had is that the motor is only designed to run at 64 amps continuous duty. I have been running it around 100 amps. The more amps you run the more heat is generated, and at some point that becomes a problem. By problem, I mean the brushes will wear out much faster, or the motor could simply overheat and fail in some fashion. One step to avoid this is to increase the voltage. By increasing the voltage, you can decrease the amperage and get the same amount of power out of the motor. That means less heat and longer motor life.

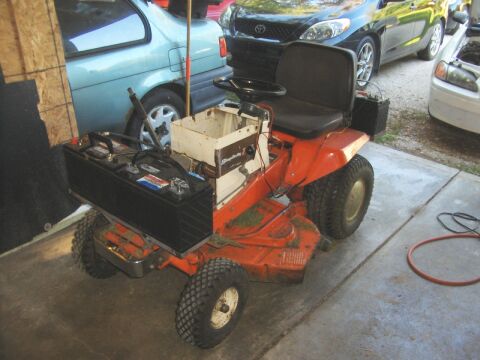
So, the first thing I needed to do was find a place for another battery. I didn’t want it to be obtrusive or look funny. Unfortunately, I kind of used up all of the space I had with the other batteries already, so I had to settle with putting it up front with the other battery. I don’t really love the look of it, but it works and that is really what matters most to me. So, I cut up the existing battery rack and welded extensions to it.

Now, with the voltage increasing from 36 to 48 volts, the motor speed increases as well. This means my motor was spinning around 4800 rpm and will now be spinning around 7200 rpm. This large increase in motor speed means that I also needed to get new pulleys for the mower to keep the mower driving speed down and the mower deck blade speed at a reasonable speed. I took this opportunity to really reduce the mower deck pulley size to try and get the blades to spin slower as they are major energy hogs.
With all that done, the mower again works great. The motor is pulling around 65-75 amps which is much healthier for it. Also, with the extra battery plus lower amperage, I have increased battery life and can mow longer with the mower.


Comments on this entry are closed.